DPX Proxy Server Web Interface
The Catalogic DPX Proxy Server virtual appliance includes the web (HTML5-based) interface. It allows the user to operate and monitor the proxy server from the web browser. The user can also access the Linux shell in the web browser window instead of using an SSH client.
Connecting to the Linux Shell of the DPX Proxy Server
In most cases, you can access the Linux shell of the DPX Proxy Server from your web browser. Log in to the web interface as instructed in the Connecting to the DPX Proxy Server Web Interface and select Terminal from the side panel.
If you want to connect to the Linux shell via SSH, use the same credentials as for the web interface.
Note. You will be prompted to change the default password when you log in for the first time.
Connecting to the DPX Proxy Server web interface
After creating the Catalogic DPX Proxy Server virtual appliance in the VMware environment, you can access its web interface from your web browser.
From a web browser on your workstation, open the following URL:
https://<IPv4 address of the proxy server>:9090Note. You must allow connections between your workstation and the Catalogic DPX Proxy Server via TCP 9090.

On the log-in page, enter the default user name and password for the Catalogic DPX Proxy Server:
User name: dpxadmin
Password (only for the first time): dpxadmin
See also. This graphical interface is based on Red Hat Cockpit. For more information, see cockpit-project.org.
You can open the following pages from the navigation pane:
System
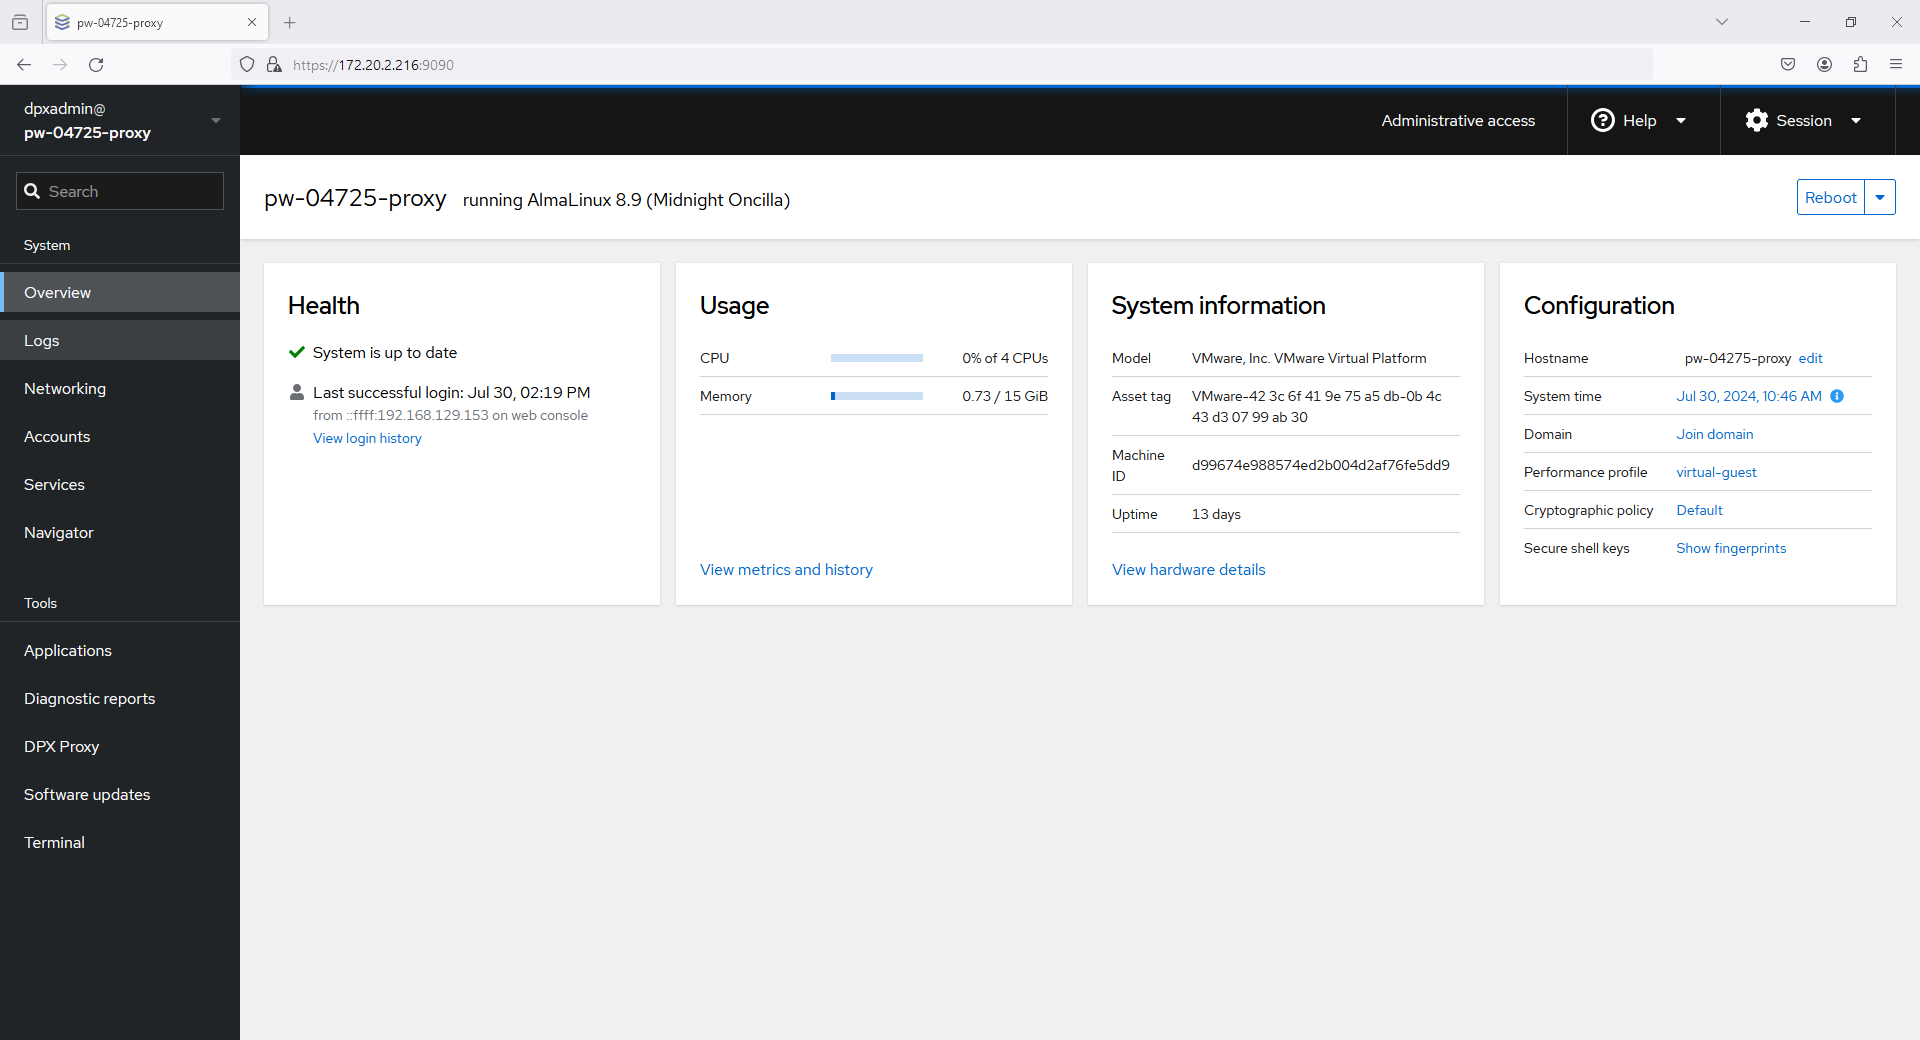
Overview
You can see the system information and resource monitors for the machine’s health, CPU utilization, system information, and configuration. You can also restart or shut down the system.
Logs
In the Logs page, you can view the records of the Linux system log (/var/log/messages). You can specify the time range, event severity, and service such as kernel and systemd.
Note. The timestamps in the Logs page use our browser’s time zone (TZ), typically the system TZ of your workstation. For example, set the system TZ to the US Eastern Time (America/New_York) when you deploy this virtual appliance from VMware vSphere Client, open the Logs page from a workstation in San Francisco, and you see the time stamps in Pacific Time which is 3 hours behind Eastern Time.
Networking
Monitor the throughput of the sending packets and receiving packets. You can also see the Networking Logs for network-related services such as NetworkManager and firewall.
Do not enable the firewall from this page or you will lose access to the Cockpit interface immediately. To disable the firewall and regain access to the Cockpit interface, log in to the Linux shell and stop the firewall by using the following command:
Accounts
Manage accounts such as root and dpxadmin in this Linux system. You need to log in with the privileged access to use this page.
Services
View a list of system services that are usually managed by systemd. Click either service and you can see the details of this system service such as the status: active, inactive, and so on. You can also start, stop, or restart the system service.
Attention! Do not make any changes to these system services unless instructed by the Catalogic Technical Support Team.
Navigator
You can browse and view files in this Linux system.
Tools
Applications
See and manage all applications installed or available on this Linux system.
Diagnostic reports
You can download the system files and log files that are usually helpful to troubleshoot system issues. These files are archived and compressed in tar.xz format.
DPX Proxy
You can see the product information of the Catalogic DPX Proxy server application on this virtual appliance: the product version number, the patch level, and so on. In addition, you can check the server status, stop the server, and start it again.
Software updates
Check for system update status and automatic update settings.
Terminal
Access the Linux shell from your web browser without using the machine monitor or an SSH client.
See also. For more information about every function in Red Hat Cockpit, see the Red Hat Customer Portal: Managing systems using the RHEL 8 web console.
Last updated