Creating a File Backup Job
Before running a file backup, you need to create a File Backup Job. To do this, use either of the DPX interfaces.
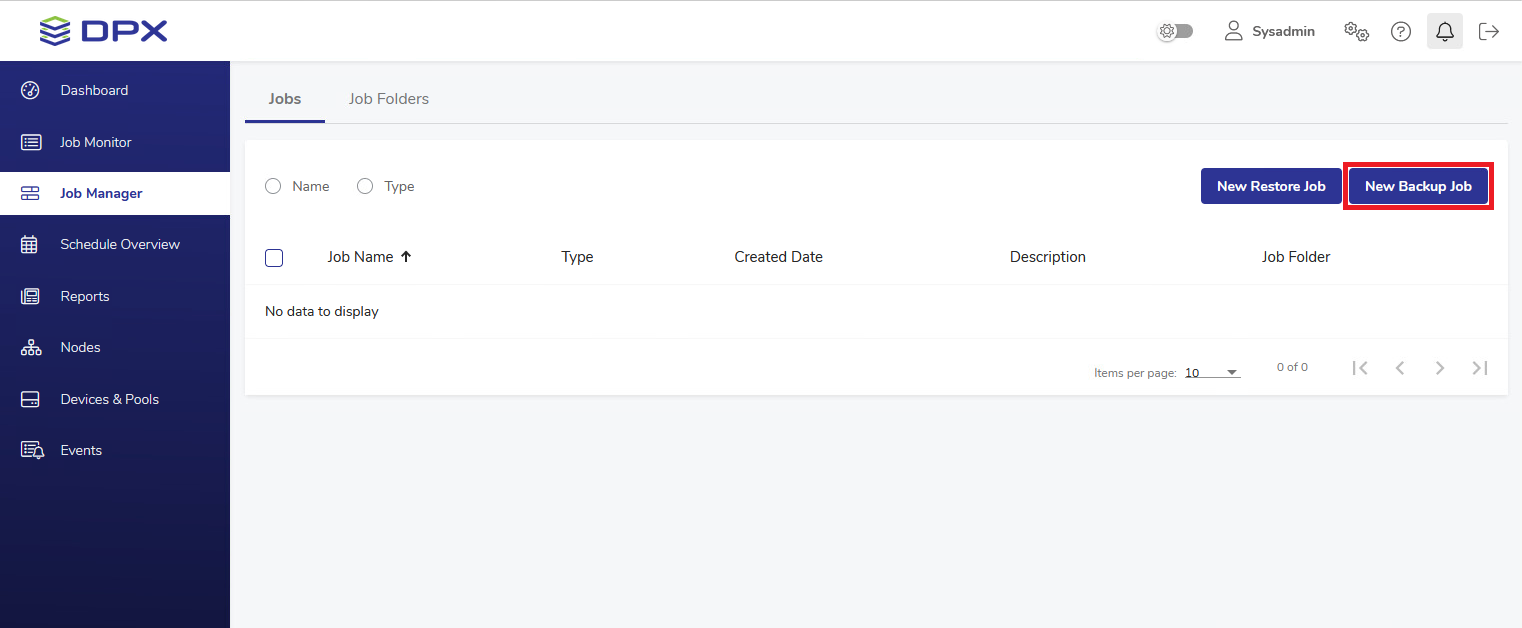
In the main web interface view, go to Job Manager in the sidebar. Then select the New Backup Job button in the upper right corner.
Specify the Job Name. You can also add an optional description (both fields may contain up to 48 characters).
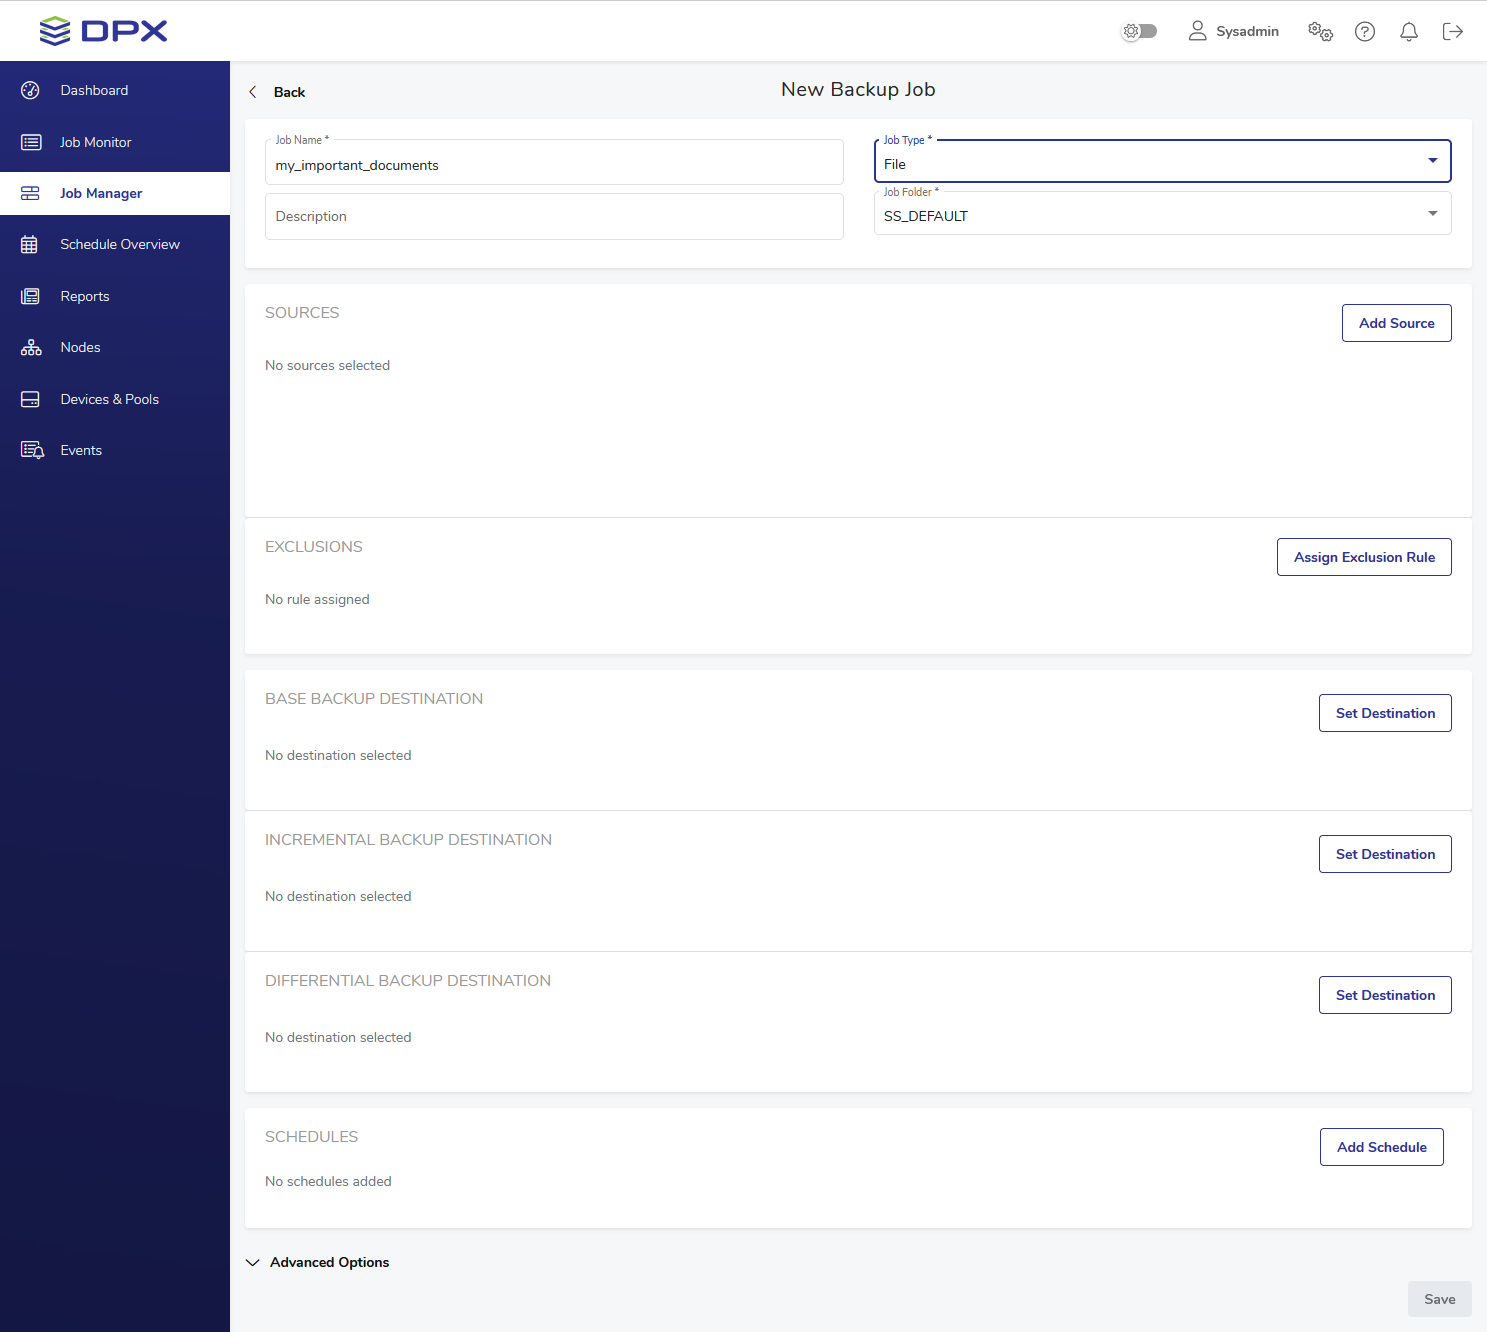
Select Job Type – File and the Job Folder to store the job in (see the Job Manager section for more information). By default, all jobs are stored in the SS_DEFAULT job folder.
Click Add Source in the SOURCES pane to specify which volumes you want to back up. The Source selection dialog will appear. Select the desired volumes and click Select.
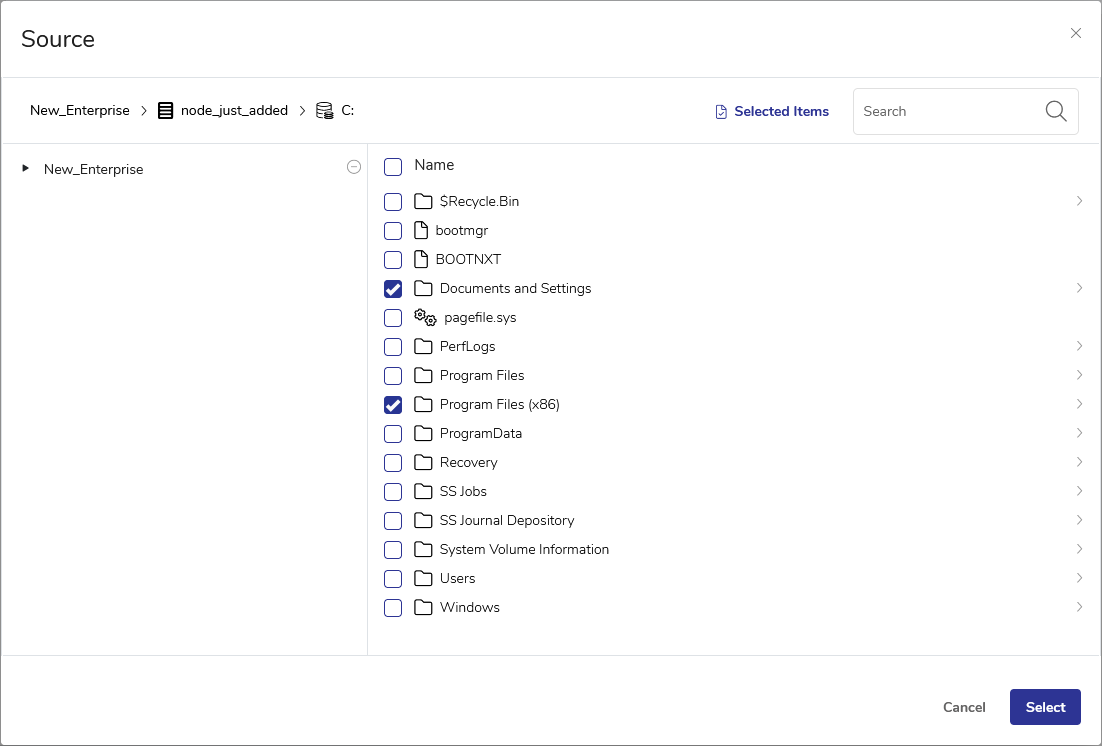
See also. For more information about backup source options, see Job Source Options for File Backup.
Tip. You may view your current selection at any moment, using the Selected Items button next to the search field.
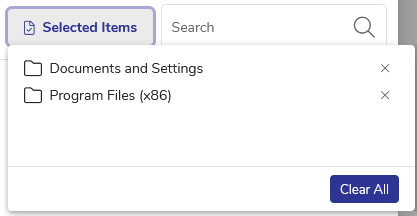
You can clear each item using the “X” symbol next to the item, or clear all items at once using the Clear All button.
Optionally, set exclusion rules for files of a certain type. Click Assign Exclusion Rule in the EXCLUSIONS pane to select one of the already existing exclusion rules.

See also. For more information about file exclusion rules and how to define them, see File Exclusion Rules.
In the BASE BACKUP DESTINATION pane, click Set Destination to choose the destination for the base backup.
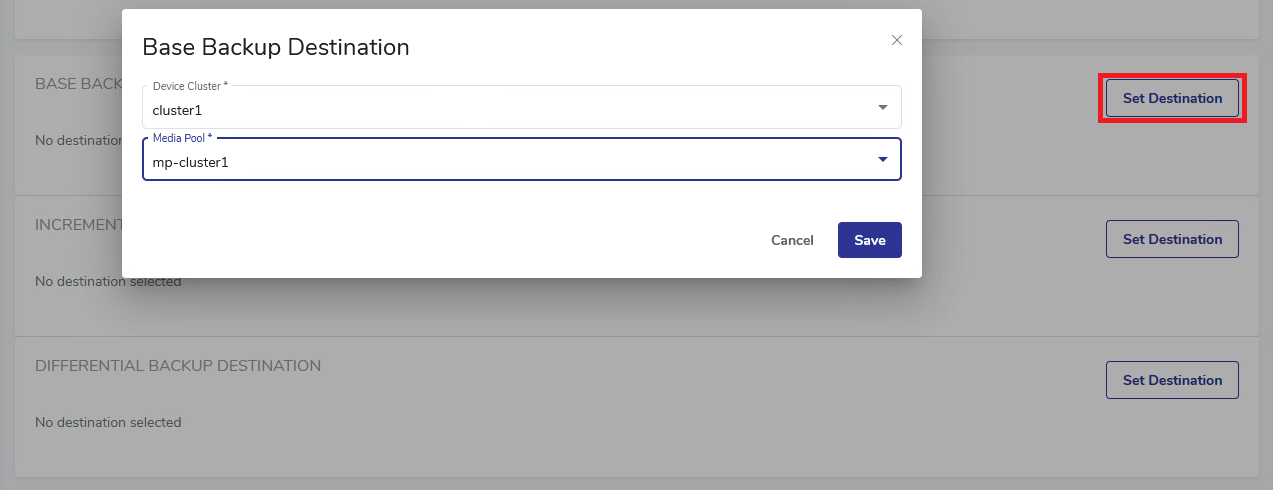
The INCREMENTAL BACKUP DESTINATION and DIFFERENTIAL BACKUP DESTINATION panes are pre-populated as per the base backup destination. You may change that by clicking Set Destination in respective panes. Note that both these destinations are required for saving the job.
See also. To learn more about incremental and differential backups, see Differential and Incremental Backups.
You may also add a schedule in the SCHEDULES pane for the backup to be run on a regular basis. See Scheduling a File Backup Job.
Set advanced options as desired, selecting them from the Advanced Options drop-down at the bottom of the screen (scroll down if necessary).
See also. For more information about file backup job options, see the following sections:
Click Save. The Run Job prompt will be shown, where you may run the job immediately, specifying the retention period (default is 90 days). If you select No, you can run the job later from the Job Manager section.
In the main desktop interface window, go to the Backup tab, and from the Backup Modes section in the task panel, choose File.
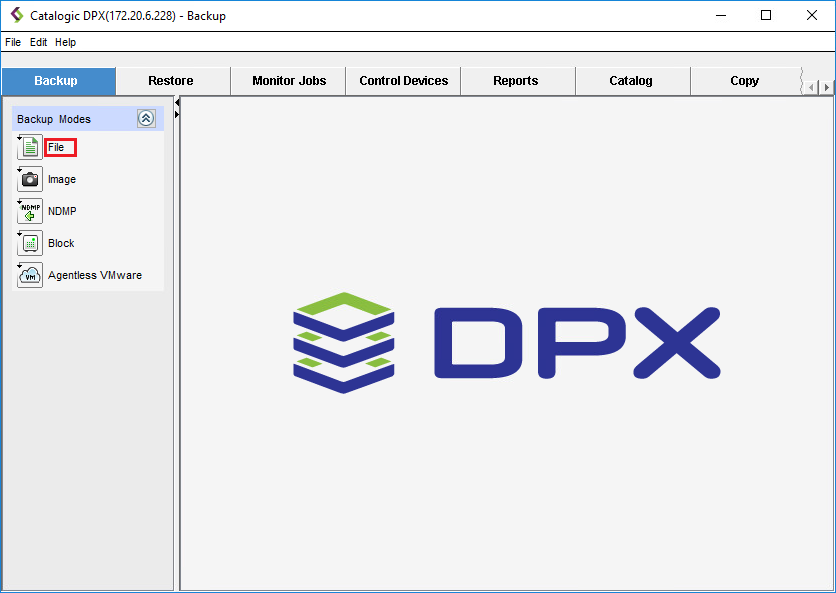
Two additional panes will appear. You are already in the defining new file backup job view, so there is no need to click the Define New Backup Job button under Job Tasks in the task panel.

Specify the File backup source in the middle pane. Expand the tree as necessary.
Empty checkboxes indicate a directory that will not be included. Checkboxes marked in red indicate a directory that will be fully included. Half-red checkboxes indicate that only some subdirectories/files of a given directory will be included.
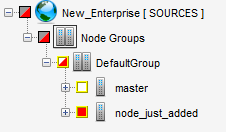
Specify the File backup destination in the right-hand side pane. Expand the tree as necessary.
Note. Before running a backup job, you need to save it. Once saved, a previously defined job can be modified, run, or deleted. If you try to leave the job creation view without saving the changes, you will be prompted to either save or discard changes before leaving.
If you select Define New Backup Job, all unsaved changes will be lost.
Set advanced options as desired, selecting appropriate items in the Other Tasks section of the side panel. Scroll down if necessary.
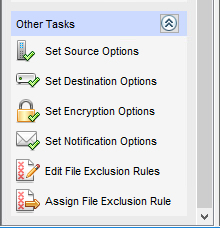
See also. For more information about file backup job options, see the following sections:
Save the job by doing one of the following:
Select File > Save Job
Select Save Backup Job in the Job Tasks section of the side panel
Press [Ctrl + S]
The Save Job dialog will appear.
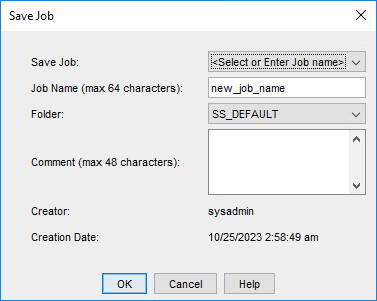
Restrictions. The new job name must be unique throughout the entire DPX, regardless of the folder the job is stored in.
Click OK. The job is now saved.
Last updated