Nutanix Files

General
Nutanix Files offers file system storage in the form of network shares (SMB or NFS). With vPlus, you can easily back up and recover these shares.
Note.
There must be an account defined in both Prism Central and File Server with the same credentials. (each File Server is considered as a separate Storage Provider)
vPlus tracks changes for each file system change using the Nutanix CFT mechanism. (this shortens backup times because it does not need to perform a metadata scan across your file server, which could contain millions of files and directories)
Only regular files, symlinks, and directories are backed up.
For file systems, vPlus currently build images for each backup before uploading data to the specific backup provider so that it doesn't have to upload objects one-by-one - these images will be merged automatically in restore tasks.
In general, the process looks as follows:
the user adds a new storage provider (Nutanix files)
inventory synchronization retrieves all the information about storage (of two types: SMB and NFS)
the user can then do a full backup (storage is mounted, and all files are extracted from it)
incremental backup uses CFT from the API, and based on this list, vPlus only downloads changed files.
Example
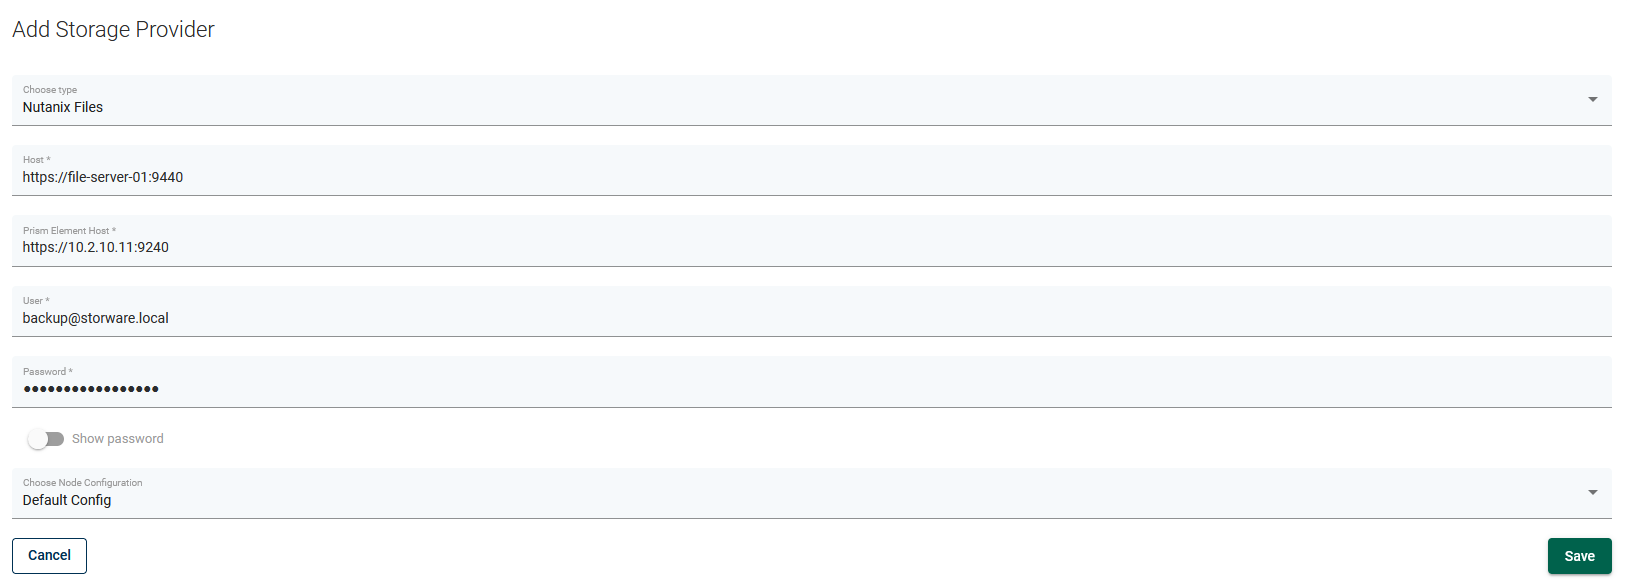
Complete the following steps to add the Nutanix Files storage provider:
Go to Storage -> Storage Providers and click Create

In the form, provide:
Nutanix Filesas the typeThe File Server URL in the
hostfield (https://FILE_SERVER:9440)The URL to the Prism Element Host (
https://PRISM_ELEMENT:9440)The login and password
The
adminaccount cannot be usedThe same credentials will be used to access Prism Element and File Server
In Prism Element, there is a dedicated account with a Cluster Admin role
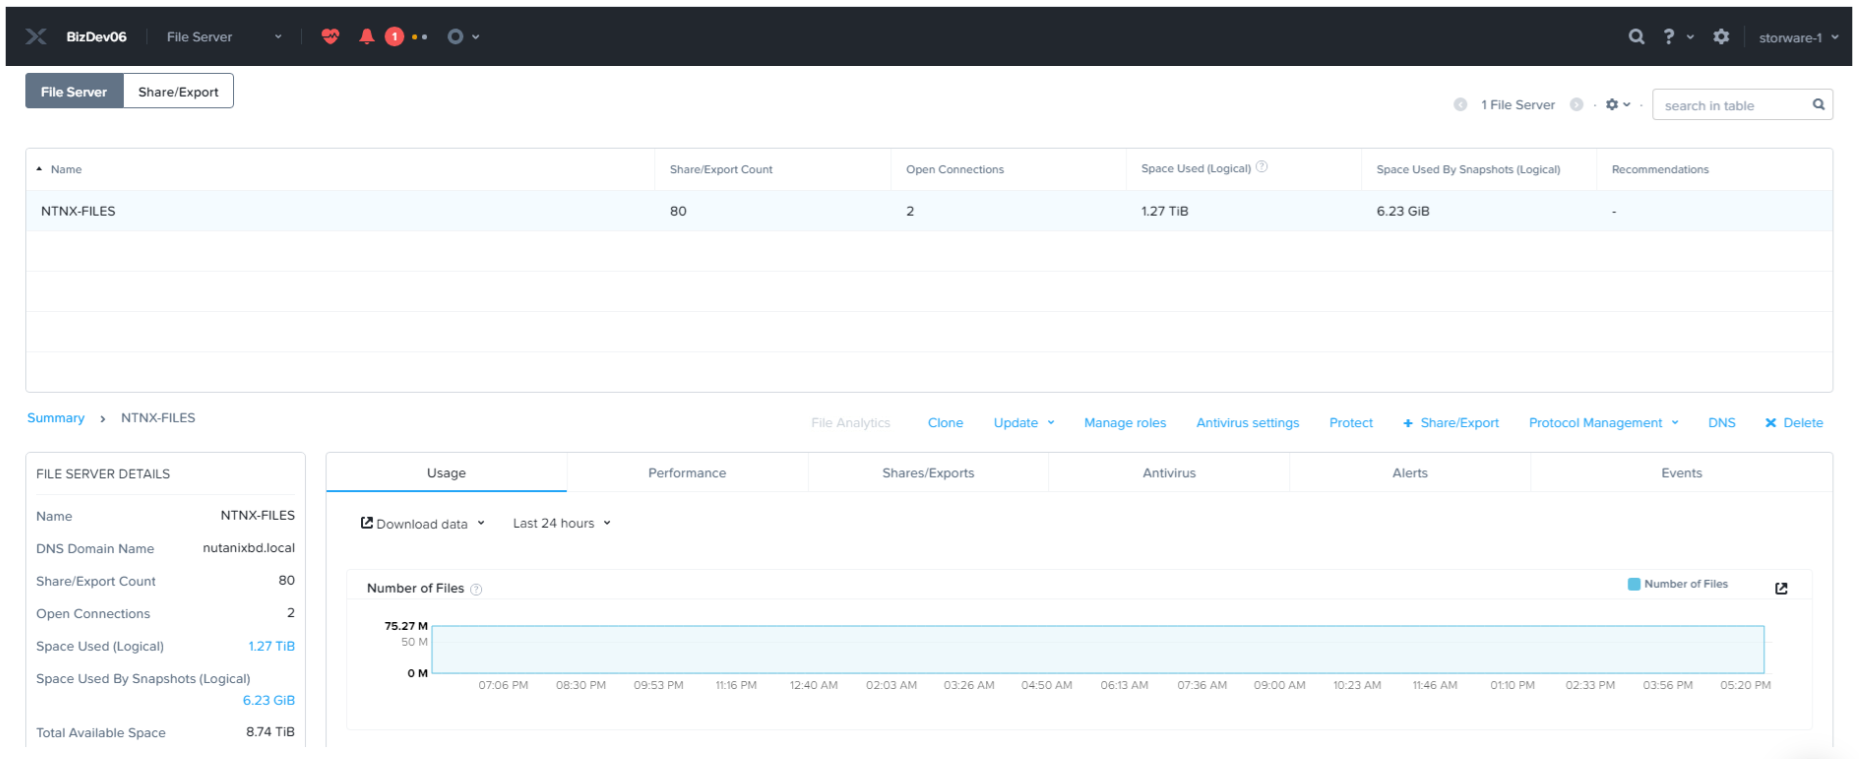
Create an API account for the file server (e.g. in Prism Element, go to the File Server tab, select Manage Roles, add an API user and add the user to the file server administration group)
If you want to use domain account, enter it in this form -
domain\username
The node responsible for backup operations

Click Save - now you can run inventory synchronization to detect file systems (storage instances) - they will be visible in Storage -> Instances view
Now you can assign backup SLAs in Storage -> Backup SLAs to schedule periodic backups of these shares. You are also able to mount backups to restore individual files using Mounted Backups (File-level Restore).
Limitations
Backup/Restore of hidden shares on Nutanix Files with SMB are not supported.