Creating a Block Backup Job
In the web interface, block backups are defined in the Job Manager section. In the desktop interface, block backups are implemented through a backup wizard.
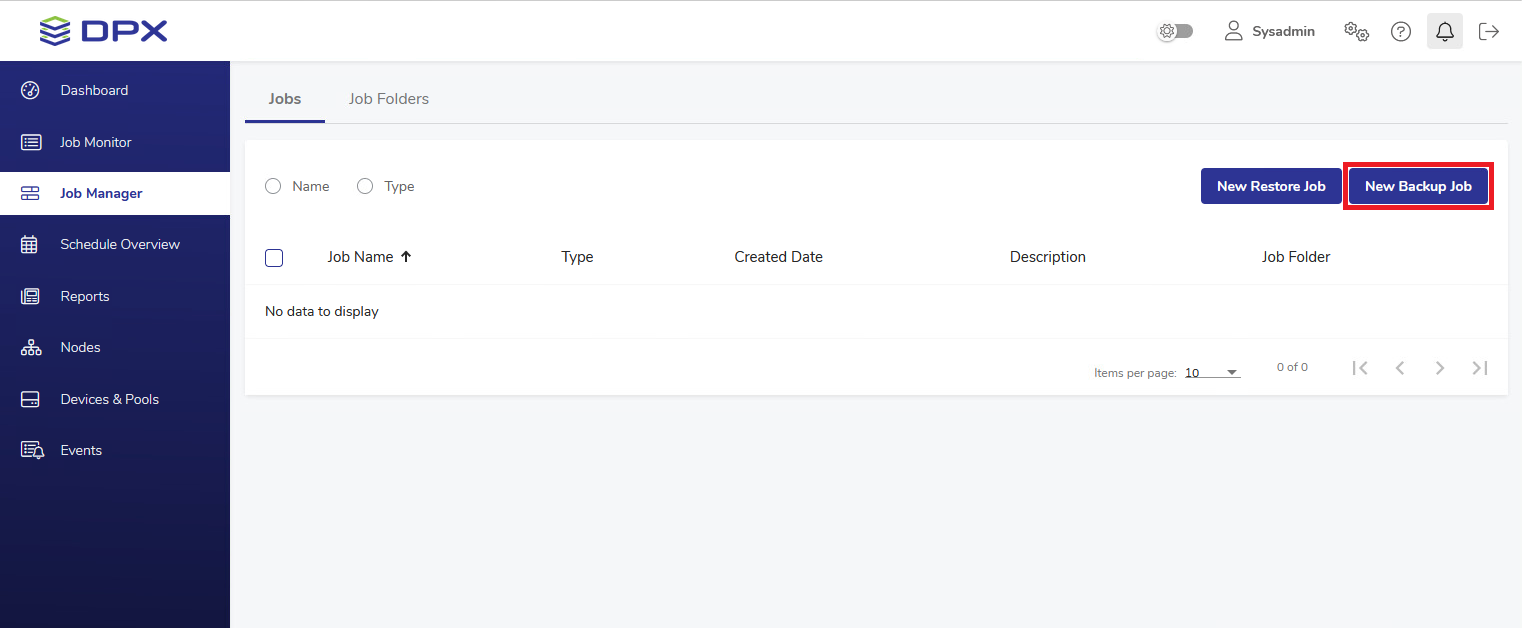
In the main web interface view, go to Job Manager in the sidebar. Then select the New Backup Job button in the upper right corner.
Specify the Job Name (this field may contain up to 16 characters). Add an optional, brief description (this field may contain up to 48 characters).
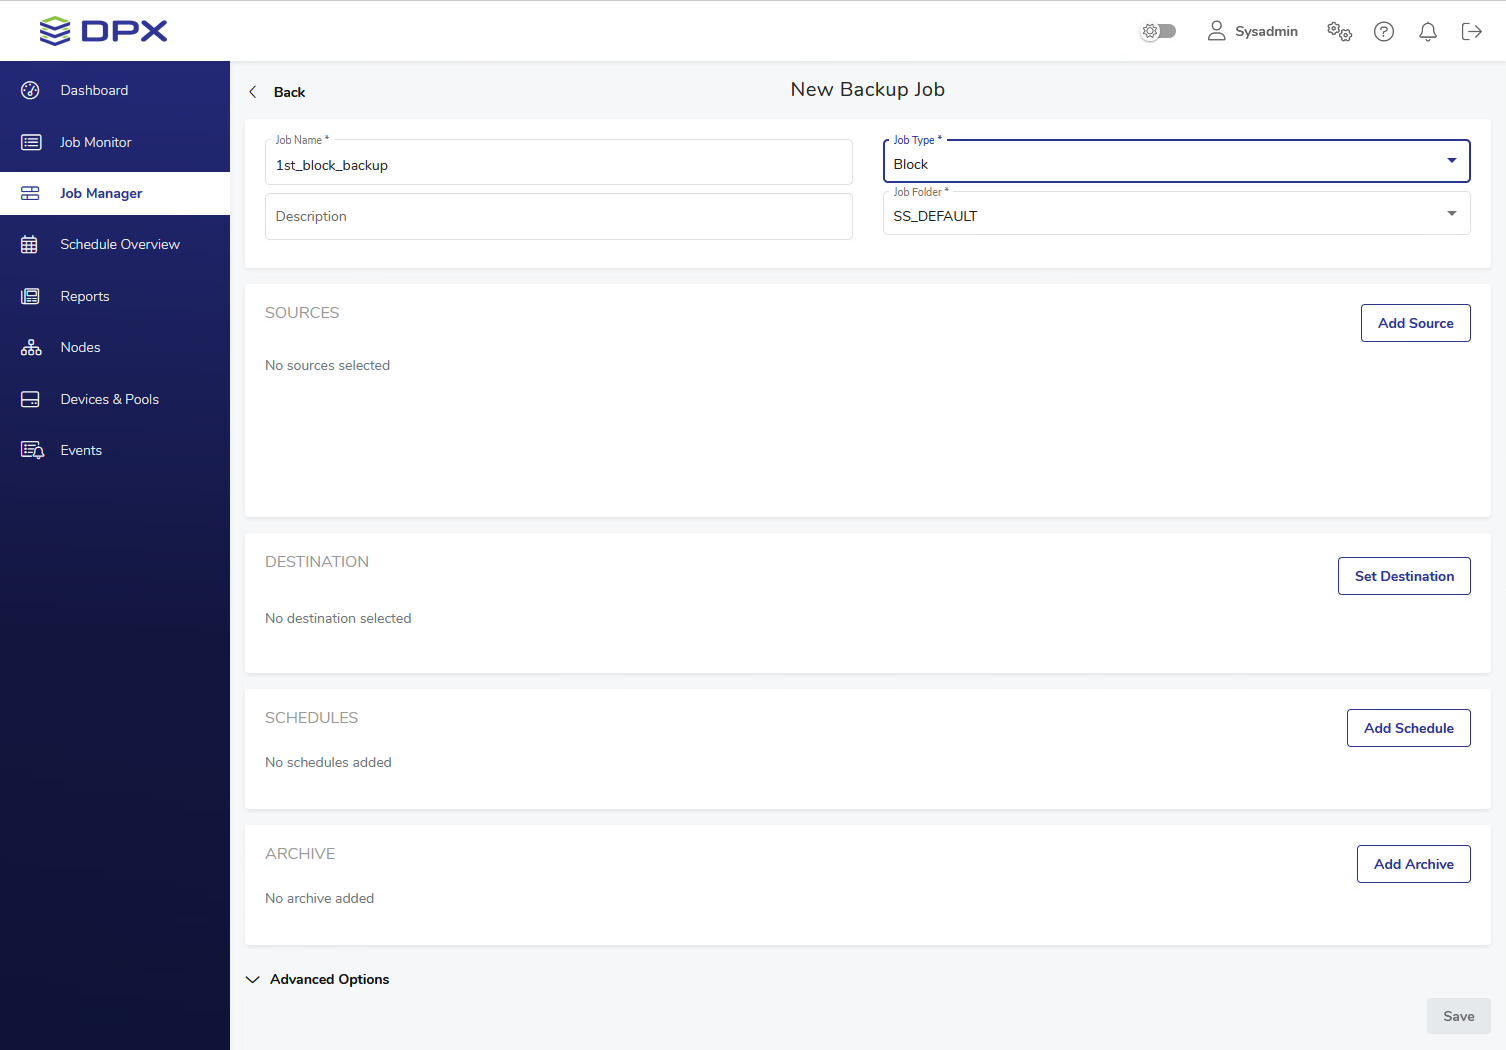
Select Job Type – Block and the Job Folder to store the job in (see the Job Manager section for more information). By default, all jobs are stored in the SS_DEFAULT job folder.
Click Add Source in the SOURCES pane to specify which volumes you want to back up. The Source selection dialog will appear. Select the desired volumes and click Select.
Tip. If you want to perform a Bare Metal Recovery (BMR) backup which allows for further recovery of the entire machine, select the BMR volume.
For more information, see Bare Metal Recovery (BMR) Backup and Bare Metal Recovery (BMR) Restore.
See also the detailed Bare Metal Recovery section.
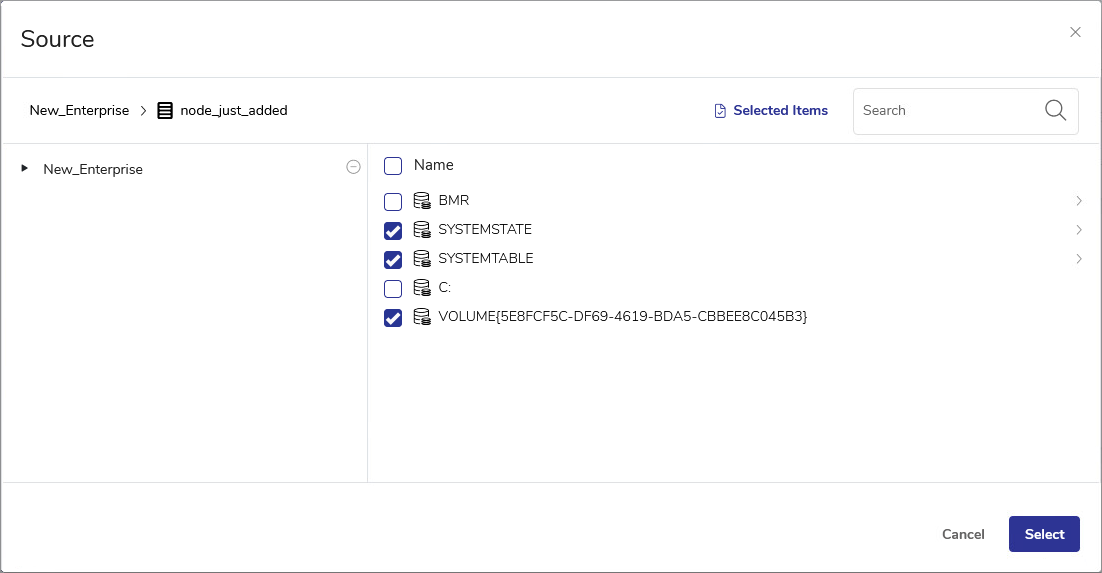
Tip. You may view your current selection at any moment, using the Selected Items button next to the search field.
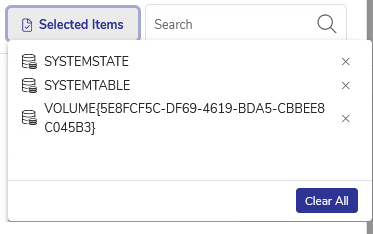
You can clear each item using the “X” symbol next to the item, or clear all items at once using the Clear All button.
Click Set Destination in the DESTINATION pane to choose the destination for the backup.
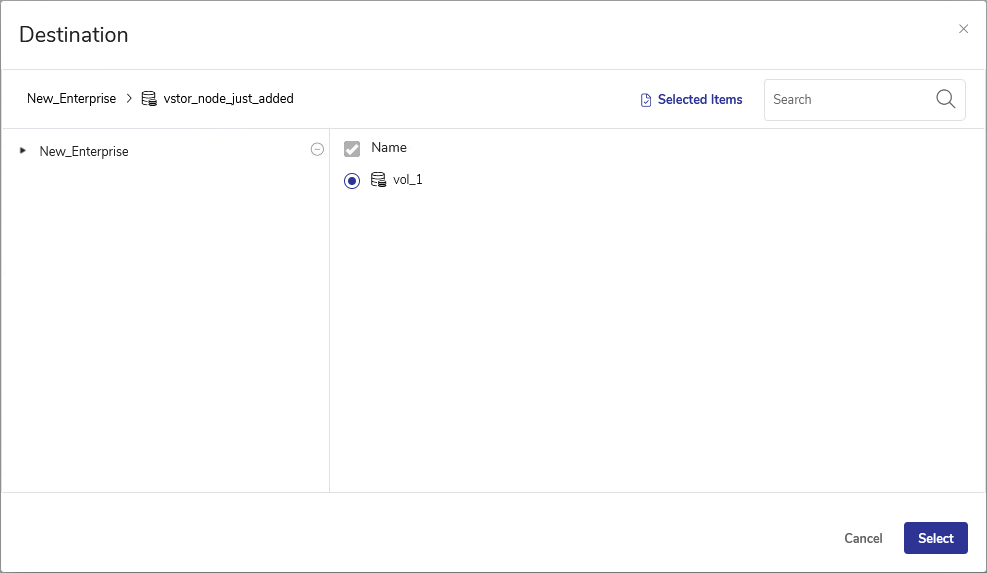
Important. When selecting a vStor share, ensure it is an NFS share, so that DPX can access it. For more information, see Creating a new share using the vStor Web Interface in vStor 4.11 Documentation.
You may also add a schedule in the SCHEDULES pane for the backup to be run regularly. See Scheduling a Block Backup Job.
If you want to add an Archive backup to your backup job, click Add Archive in the ARCHIVE pane. The Add Archive dialog will appear.
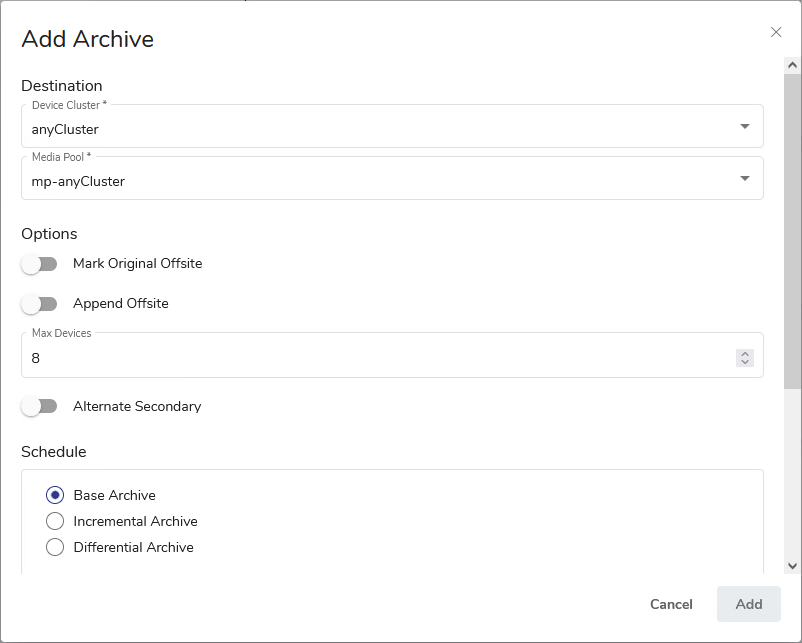
Important. Before using this functionality, read the Archive section in the Backup chapter.
Specify Advanced Options. For details, see Job Options for Block Backup.

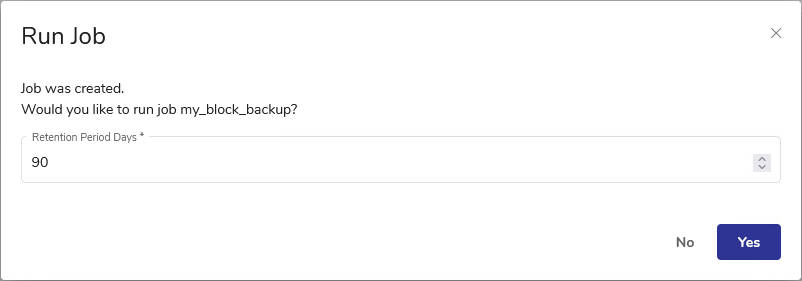
Click Save. The Run Job prompt will be shown, where you may run the job immediately, specifying the retention period (default is 90 days). If you select No, you can run the job later from the Job Manager section.
Go to the Backup tab.
From the Backup Modes section in the side panel, choose Block.
In the Job Tasks section of the task panel, find and click Block Backup Wizard.
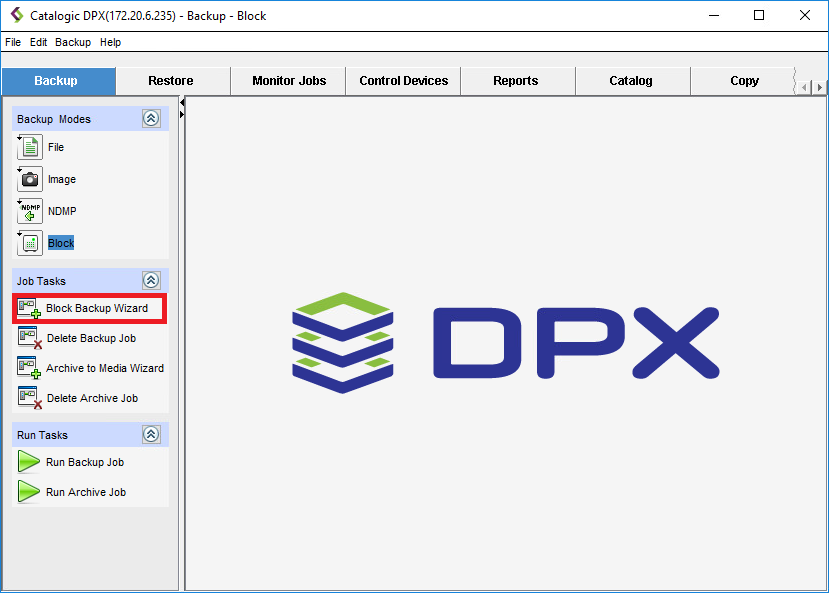
The Block Backup Wizard window will appear.
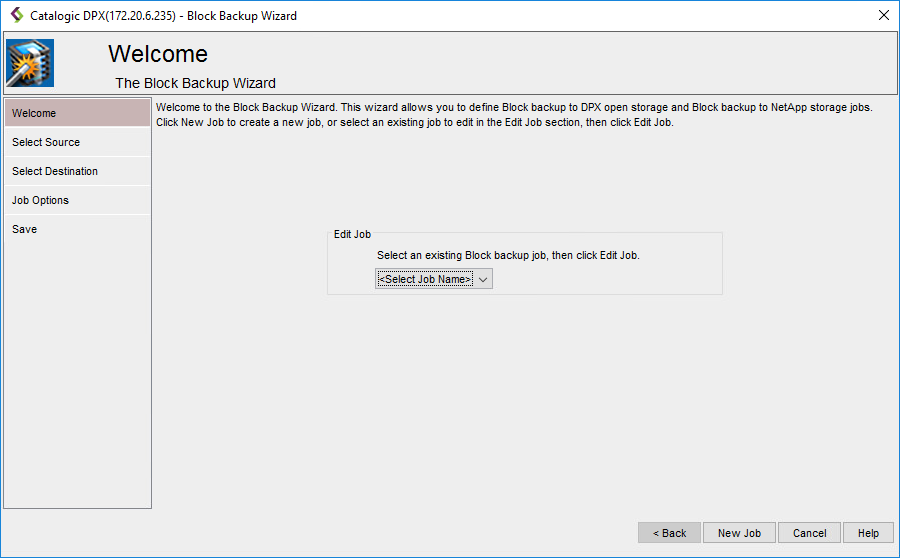
By default, the creator allows you to select from the drop-down list and edit an already existing job. If you want to create a new block backup job, click the New Job button in the lower right corner.
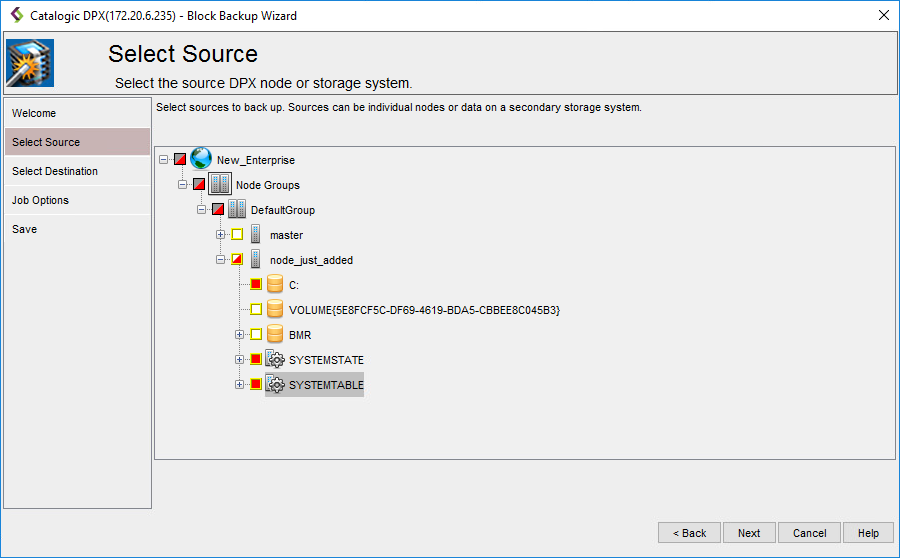
In the Select Source step, choose the volumes you want to include in the backup. Click Next.
Tip. If you want to perform a Bare Metal Recovery (BMR) backup which allows for further recovery of the entire machine, select the BMR volume.
For more information, see Bare Metal Recovery (BMR) Backup and Bare Metal Recovery (BMR) Restore.
See also the detailed Bare Metal Recovery section.
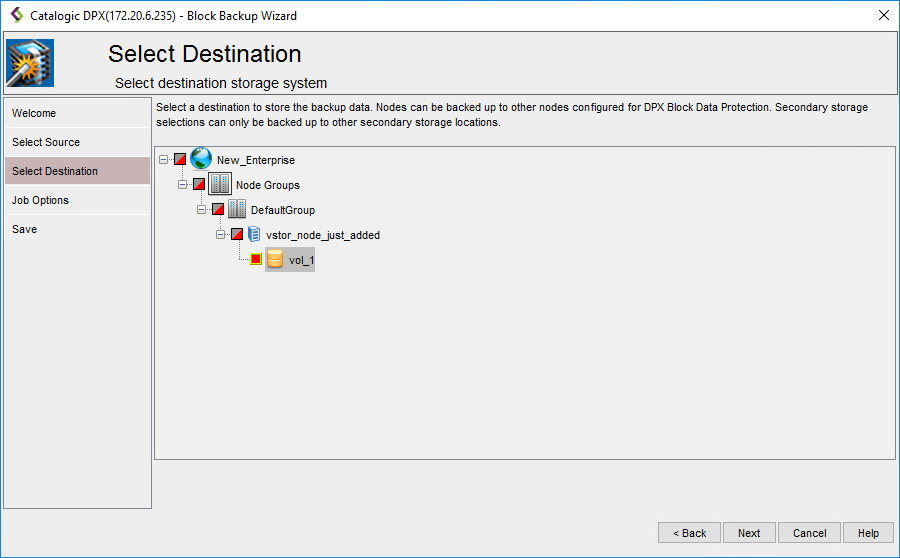
In the Select Destination step, choose the destination for the backup job. Click Next.
In the Job Options step, define the job options for the backup job. See details below.
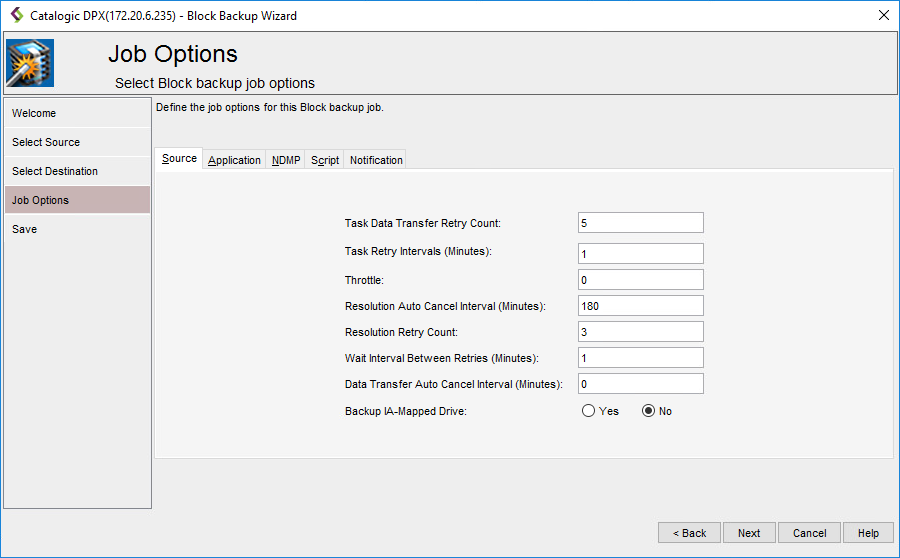
See also. For more information about block backup job options, see Job Options for Block Backup.
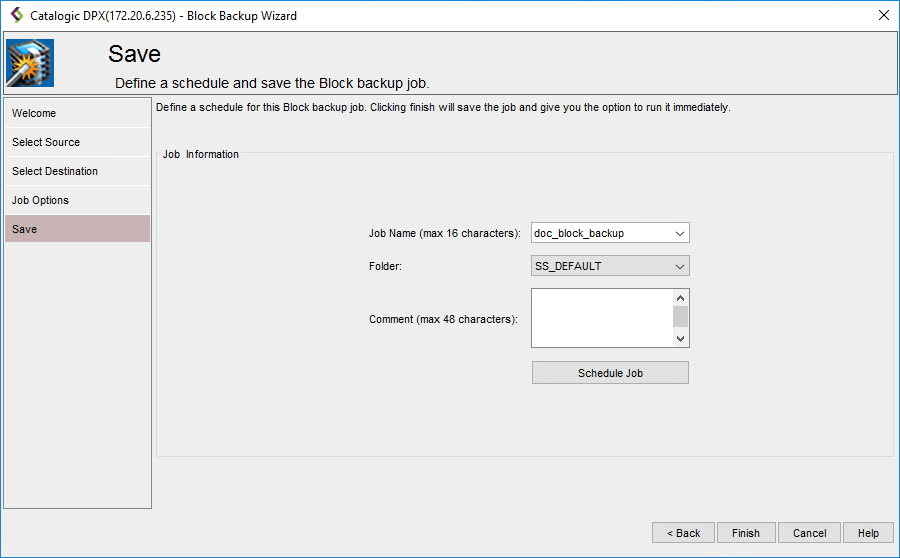
In the final Save step, you must enter the Job Name (max. 16 characters) and specify the Job Folder to store the job in (the default folder is SS_DEFAULT). You may also add a comment to the job definition or set up a schedule (See Scheduling a Block Backup Job).
In the Job Schedule dialog, you can also schedule Archive jobs for the Block backup.
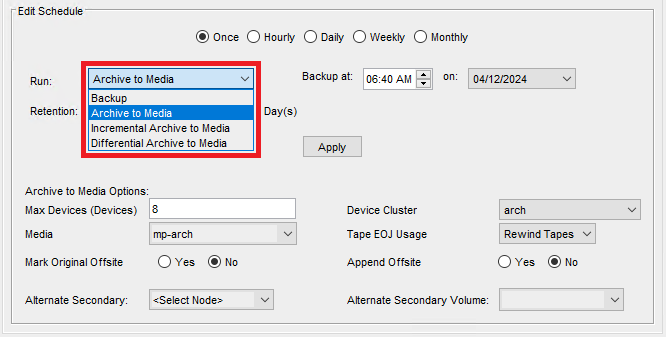
Important. Before using this functionality, read the Archive section in the Backup chapter.
Click Finish. The Final Job Run Settings dialog box will appear.
 You may choose to run the job immediately or save it without running. You may also change the retention period (default: 90 days).
Last updated