DPX Hyper-V Agent
The DPX Hyper-V Agent is designed to facilitate efficient backup and recovery operations for virtual machines hosted on Microsoft Hyper-V servers. By integrating seamlessly with the Hyper-V environment, it provides robust data protection capabilities, including full VM backups and application-consistent snapshots. The agent ensures minimal disruption to running virtual machines while delivering reliable and quick restore options to meet diverse recovery requirements.
Installing DPX Hyper-V Agent on the Microsoft Hyper-V Host
Installing with Wizard
Before you back up any data from your Hyper-V VMs, you need to install the DPX Backup Agent on the host machine to enable agentless access to all VMs under this host.
From your Hyper-V host, go to Catalogic MySupport website. On the DPX 4.11 product page, under Software Download, find the Microsoft Hyper-V Agent installer and download it on your Hyper-V host machine.

Run the installer and go through the wizard steps.
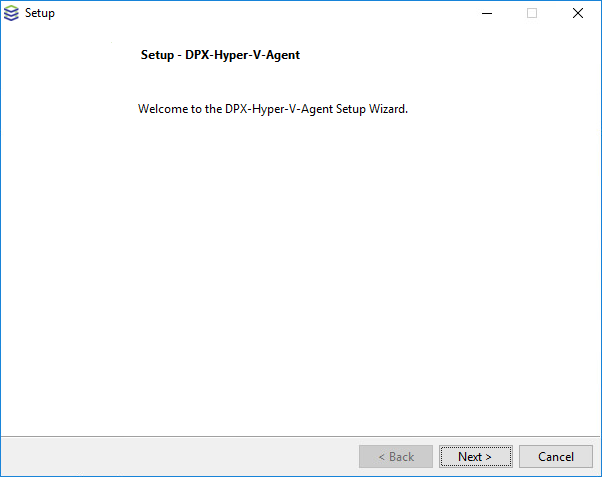
In the Welcome step, click Next.
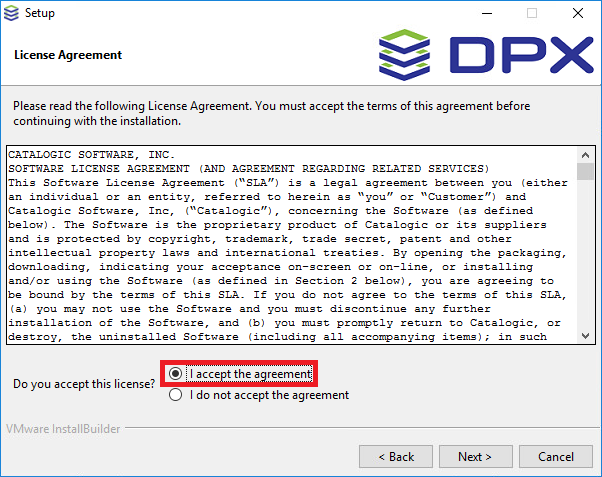
In the License Agreement step, read the entire License Agreement carefully. You must accept the terms to continue. Click Next.
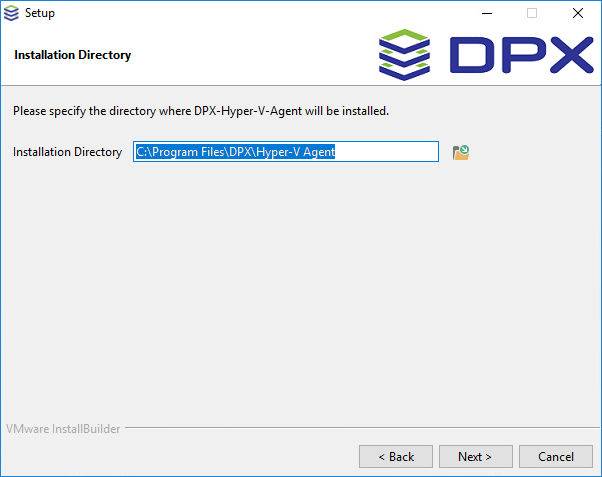
In the Installation Directory step, specify the directory where the DPX Hyper-V Agent will be installed. The default directory is usually
C:\Program Files\DPX\Hyper-V Agent. Click Next.
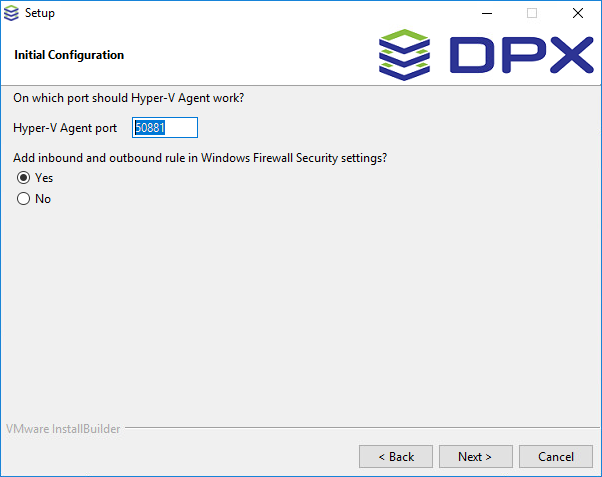
Leave default parameters and click Next.
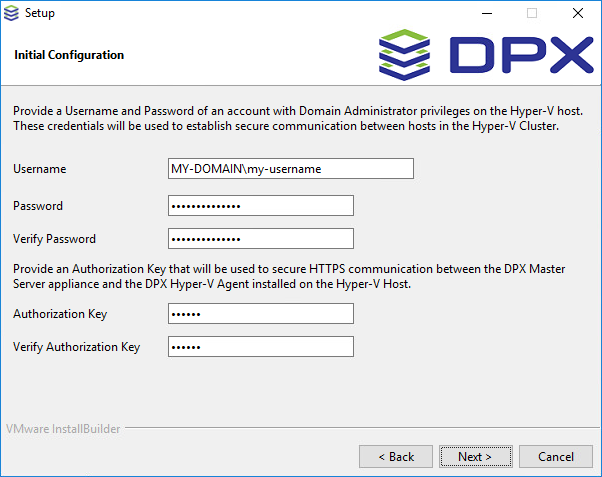
Specify the Username and Password of an account with Domain Administrator Privileges on the Hyper-V Host. If the agent is installed on a cluster environment, this must be a domain account (user needs to have remote access between the nodes in a cluster). For a standalone machine, a local administrator account is fine. The Authorization Key is used for secure communication with the agent. Click Next.
Note. The Authorization Key established in this step will be required when adding Hyper-V as a node in DPX and for further communication with the node. Ensure it is kept safe and at hand.
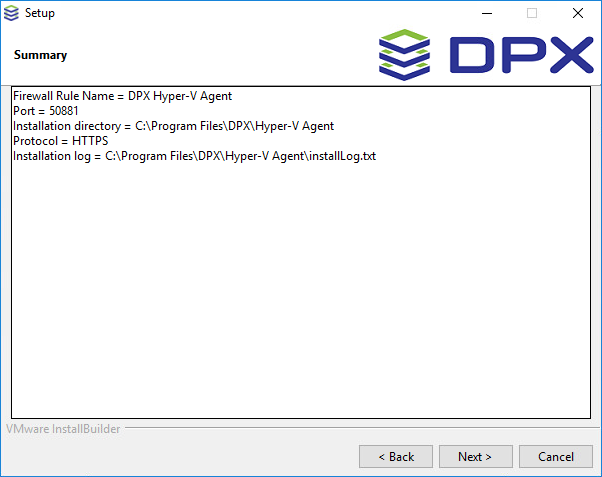
Review the details in the Summary screen and click Next.
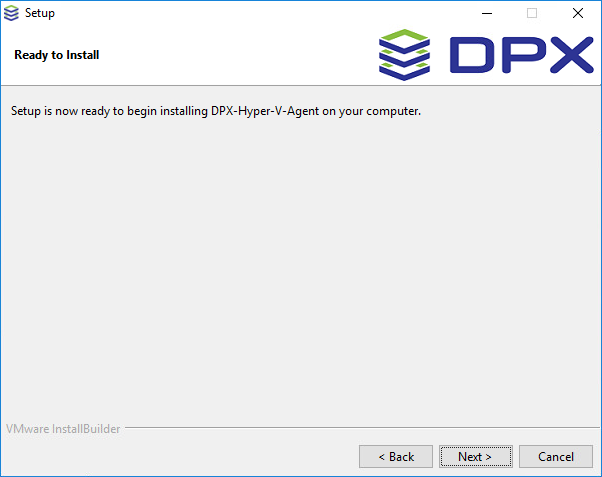
The wizard is now ready to install the DPX Hyper-V Agent on your computer. Click Next to begin the installation.
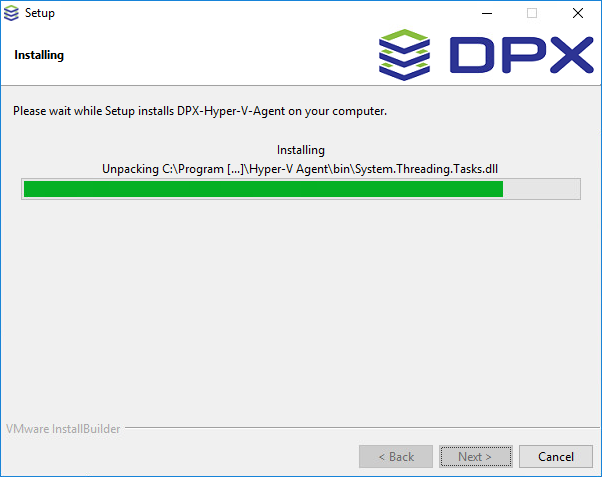
The installation process will take a few minutes.
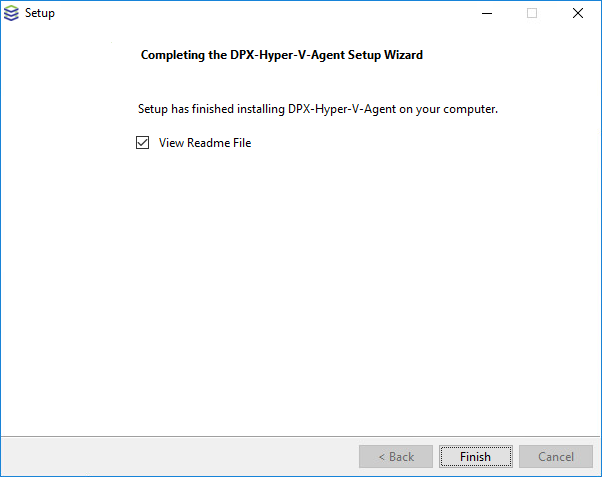
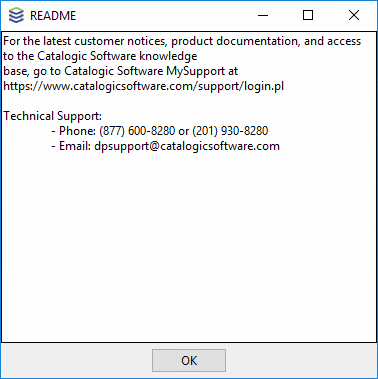
Click Finish to complete the process and exit the wizard. If the View Readme File box is checked, the readme file will be displayed in a separate window.
Upon successful installation, the DPX Hyper-V Agent service should be up and running on your Hyper-V host:
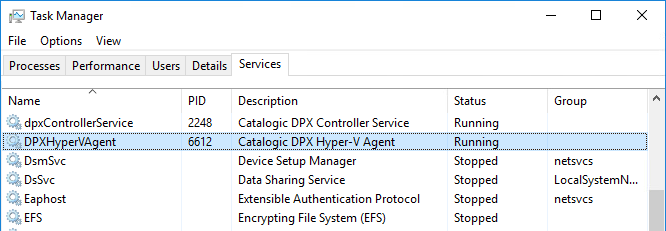
Important. Particular attention must be paid when providing credentials for the Hyper-V host, as the Installation wizard does not verify the credentials. As a result, even though the installation may seem successful, invalid credentials will prevent the DPX Hyper-V Agent service from installing, thus making the Hyper-V host unusable.
You should also be able to see a new firewall rule added for inbound traffic:

After successfully installing DPX Hyper-V Agent on the Hyper-V host, proceed with Adding a Configured Hyper-V Host as a DPX Node.
Installing via Powershell
If you prefer to install the Hyper-V Agent without using the Wizard and without any output, you can do it via powershell. The Hyper-V Agent installer requires the following parameters:
--mode--password(Note: this is the authorization key)--adminUsername--adminPassword
The installer also accepts the following optional parameters:
--port– port number (default: 50881)--installDir– custom installation directory (default: C:\Program Files\DPX\Hyper-V Agent)--firewallRuleName– custom name for firewall rule added by the installer (default: DPX Hyper-V Agent)
Here is an example with all required and optional parameters:
If an additional parameter --unattendedmodeui minimal is used, a small dialog with a progress bar will be shown during the entire installation process.

When the installation is completed, you can add the Hyper-V as a node to DPX Master Server.
See also. For more information, see Adding Hyper-V Nodes.
Last updated