Initial Configuration
Node
- Set up the backup destinations (examples):
- For backup strategies involving disk attachment mode, follow these steps: LVM setup on vPlus Node for disk attachment backup mode.
Server
- Upload your license key:
- If you don't have it, you can contact the vPlus team.
- Log in to the web UI and go to the Settings -> License and upload your
license.keyfile.
- It is highly recommended to set up vPlus DB backup - the database is key to restoring your vPlus environment and later all the backups that you need.
- Admin account setup:
- for audit purposes, it is recommended to add individual admin accounts using the Access Management section
make sure to set the correct time zone for each user - the default admin account has UTC by default.
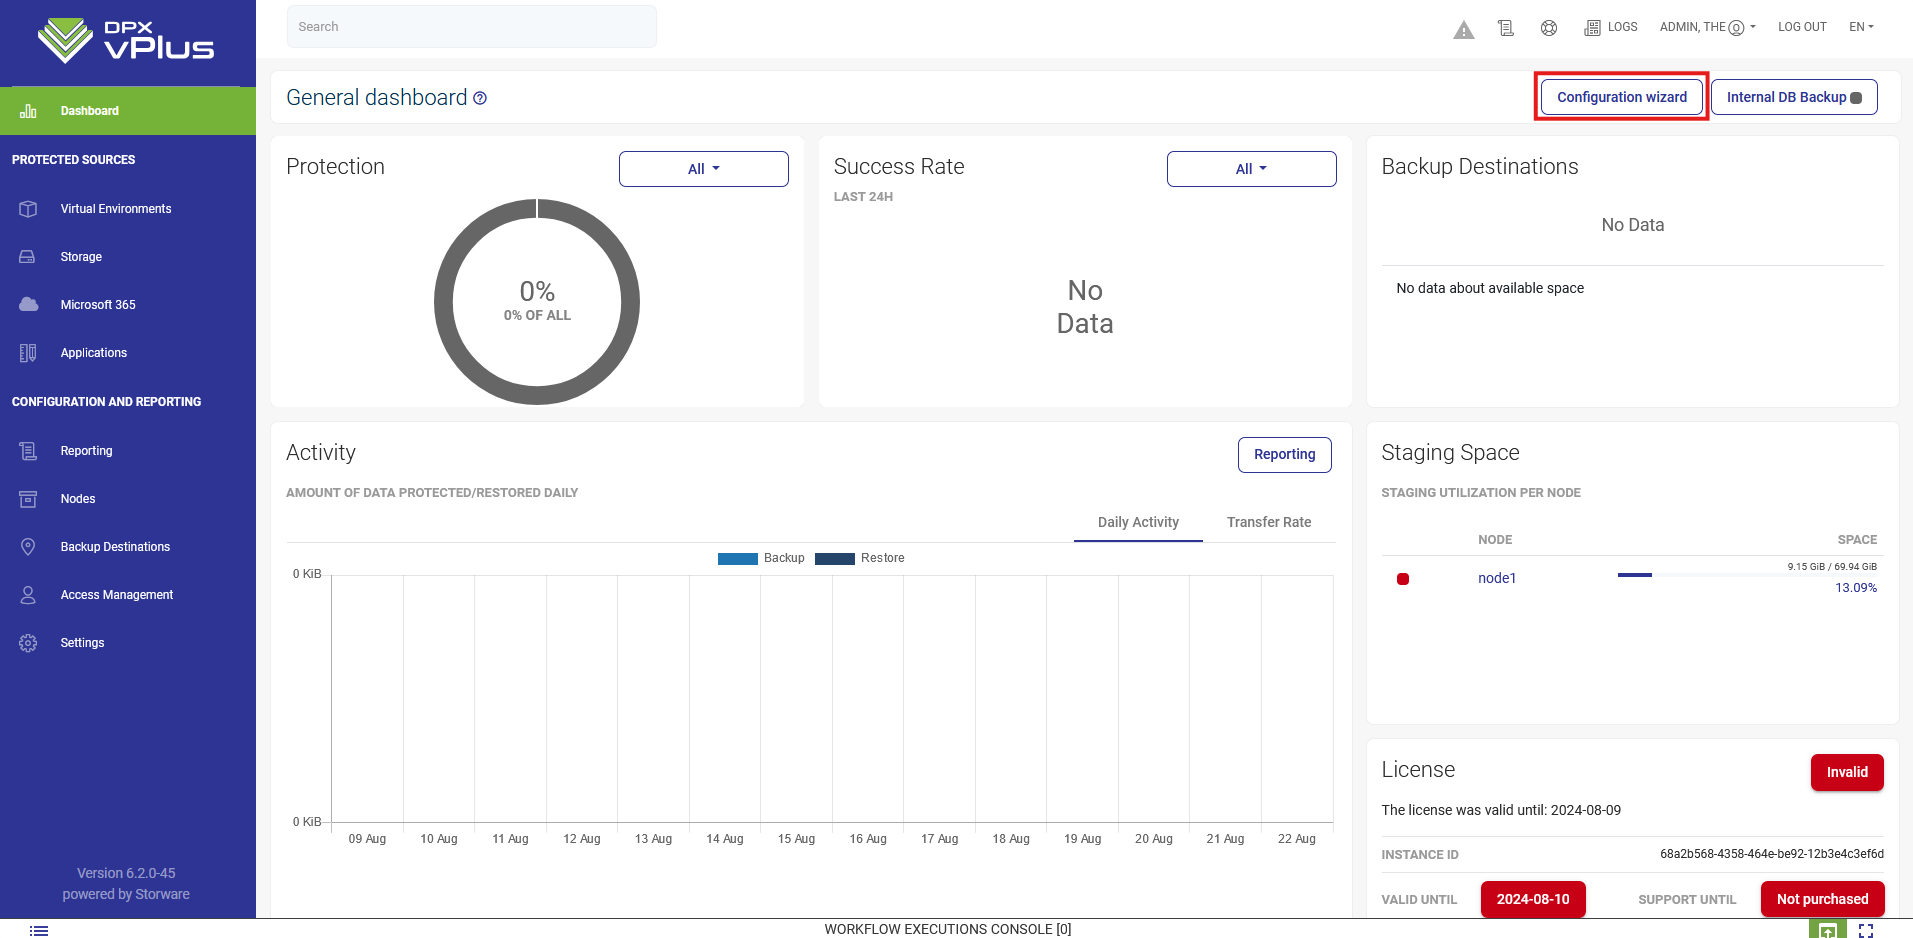
Configuration Wizard
The configuration wizard can be accessed from the main dashboard by clicking on the Configuration wizard button on the right.
Welcome page - nodes
On the welcome page, you should see the vPlus nodes summary. You need at least one fully running node to continue. If you meet this requirement, click on the Next button.

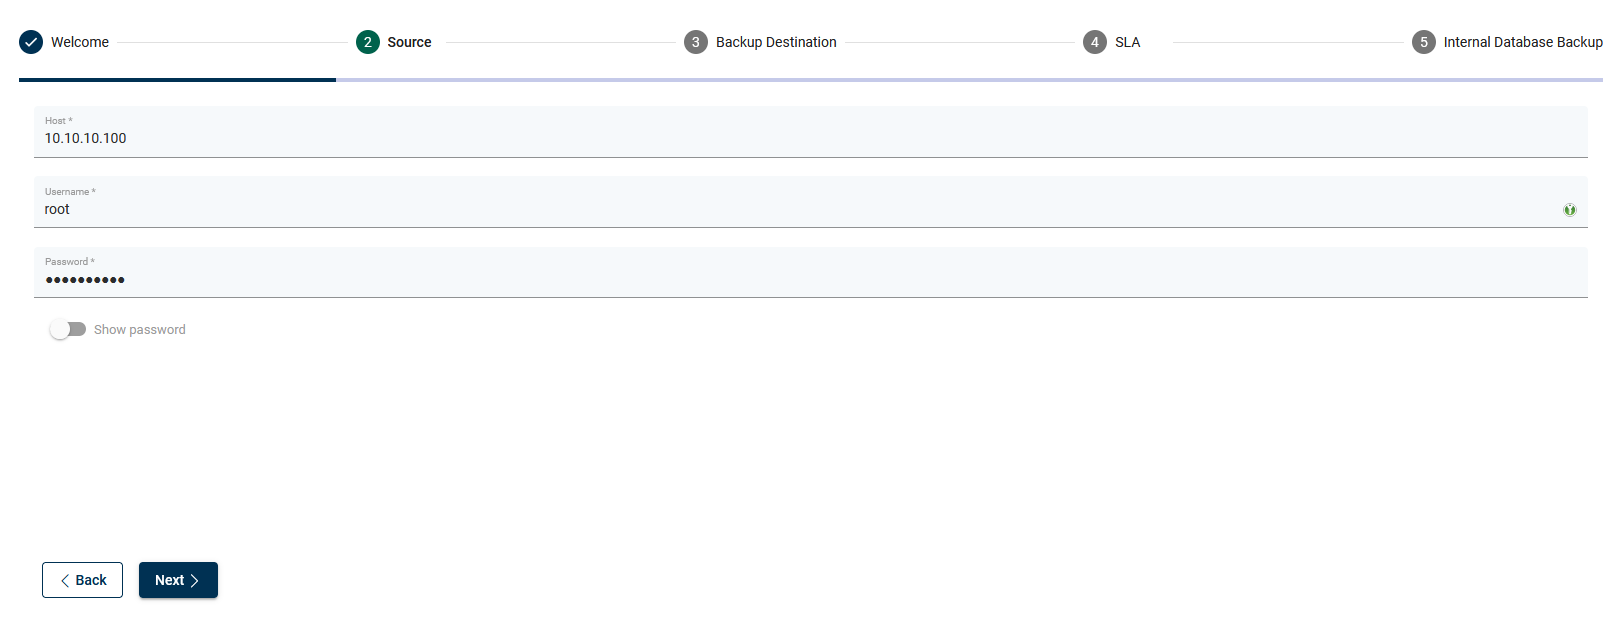
Add a hypervisor
In the Hypervisor section, you will start by selecting the hypervisor manager or hypervisor that you want to add. You can repeat this step if you have many types of virtualization providers.
-404872abdcefe9948807d61e1c630ed9.png)
For the Citrix hypervisor (as an example) you have to enter the following parameters.
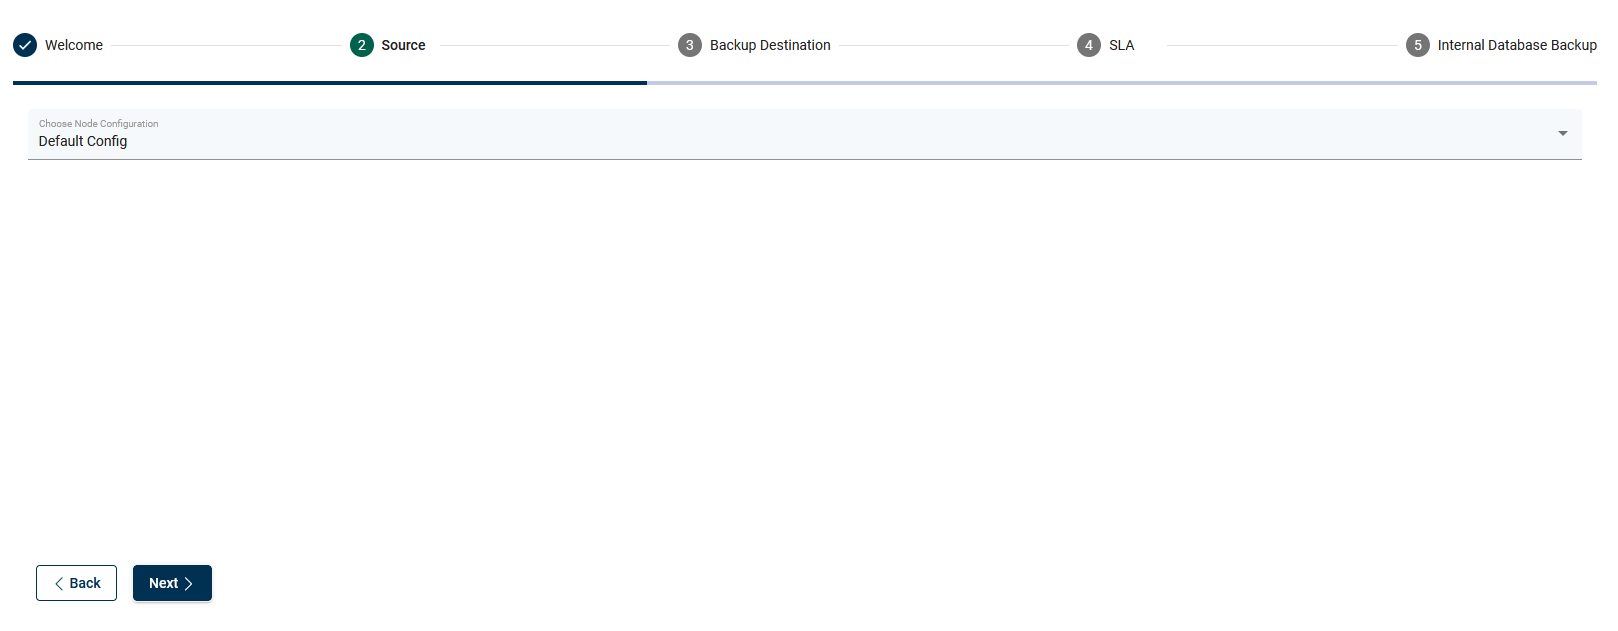
Choose node configuration.
Select a backup strategy for your hypervisor.
-a063a0b48c3c412858a9f4272c1d73c0.png)
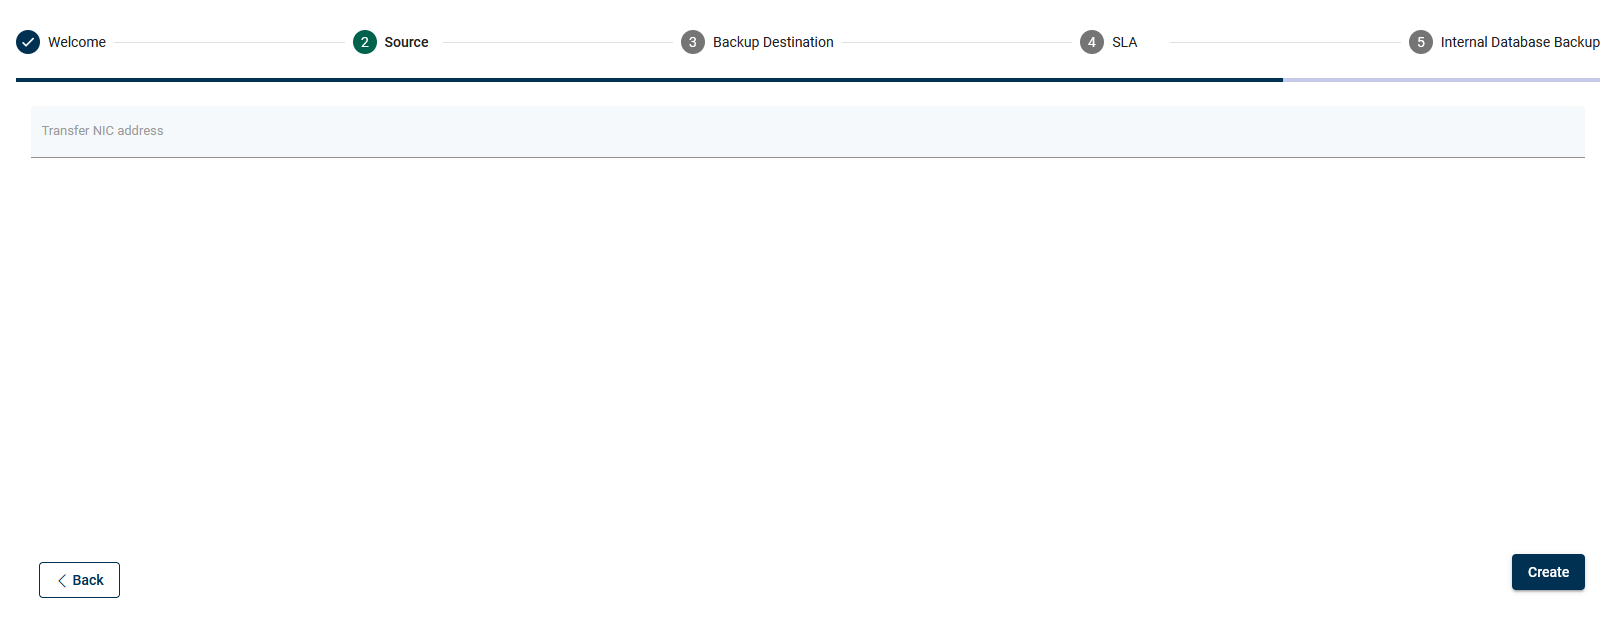
Optionally, you can add another NIC for transfer purposes (provide IP address).
At the end, you will see a popup window that allows you to run inventory synchronization. After that, you should see all the virtual machines from that hypervisor.
-4de4bb09f46b3a2b779c0376fc99cb47.png)
Add backup destination
In the next section, you can add a backup destination. In this case, you can also repeat the whole process so that you can add multiple providers using the wizard.
Choose a backup destination (we used File System as an example).

First, enter a name for your backup destination.
-2334777ffb0caa8828ac73f8652b8311.png)
Choose, if you want to use deduplication based on Virtual Data Optimizer (VDO).
 (1) (1) (1) (1) (3)-c95e05b34d26d21f7dd70674e737510c.png)
Set up a storage path, where your data should be stored.
 (1) (1) (1) (1) (3)-1ecaea9c75d506bb6778c71b81ad9e70.png)
Optionally you can enable encryption (AES-256 algorithm) - if you enable it, remember that you will not benefit from deduplication.
 (1) (1) (1) (1) (1)-0a025f1b1c096f2d48666ce15e76b1c4.png)
Configuration for pre- / post-execution command. If you use a File System with VDO integration of standard filesystem, skip this step.
 (1) (1) (1) (1) (1) (2)-d472afccb11ef5d6760e4ed115ae21cc.png)
Decide if you want to set up this backup destination as the default one.
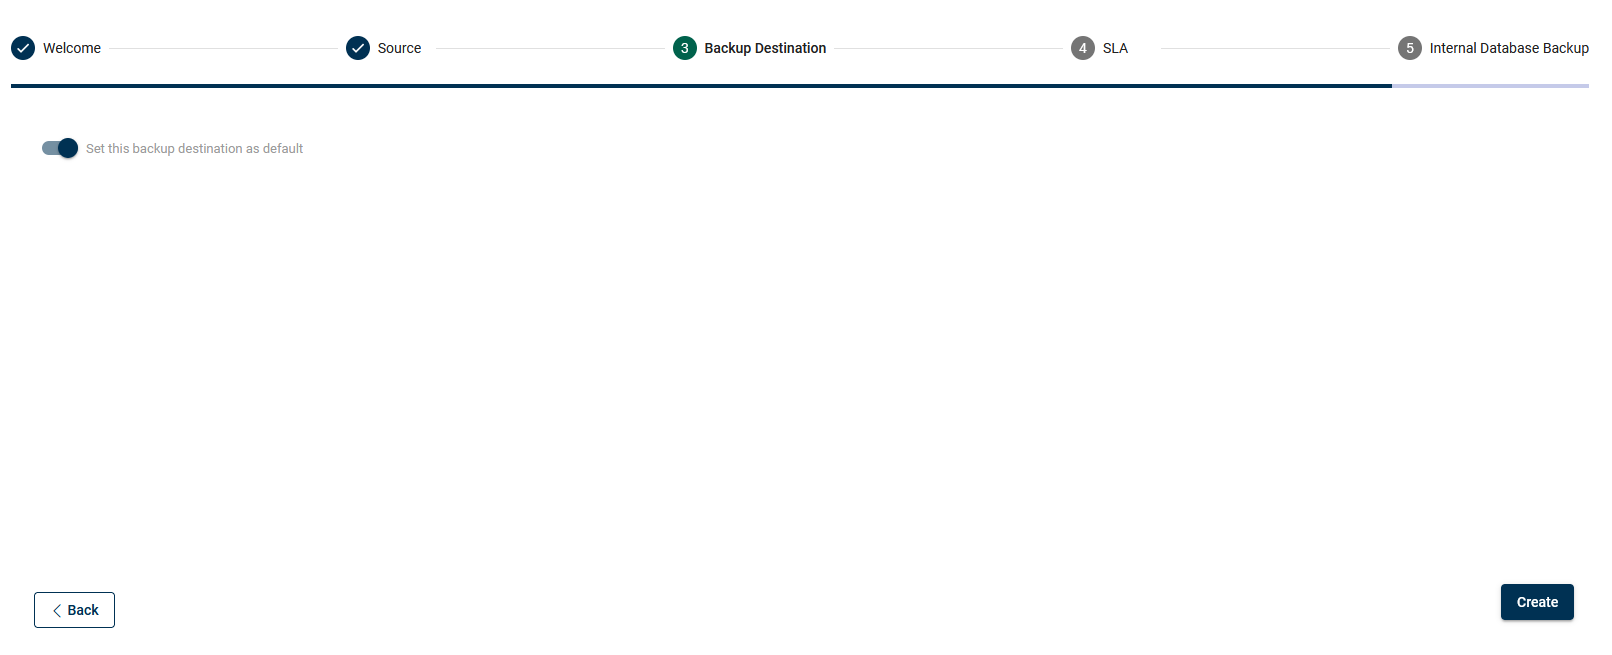
Finish this step by going to the next section or adding another backup destination.

Add SLA
In this example, we will add SLA for Virtual Environment backup.
-bc56e65f9541abf96dde7b39bec6bd99.png)
Add policy
Choose a name for the policy, auto-remove non-present virtual environments (if vPlus should remove VM from a policy that no longer exists) tick the checkbox, and set the priority.
-6829433051698fe5a810e1259ca13716.png)
Choose if you want to use auto assign mode based on tags and regular expressions (matched against the VM name, .* matches all characters 0 or more times).
check the Administration section for details of Backup SLAs to each protected platform.
-73abd637f3c83443ec1b12ff9eb5adbf.png)
Manually add the VMs if you do not want to use the auto-assignment mode.
-f42d7b5034eceea198c4af49d37cb211.png)
Choose a backup destination target for this policy.
You can now customize retention. Each backup destination has its own retention settings. Whichever condition is met first (either number of versions has been reached or the backup is older than the given limit), it is removed from the backup destination.
 (1) (1) (1) (1)-e736311a0f62acd4f2fdd0542202d793.png)
Configure the following thresholds:
- Fail rest of the backup tasks if more than X % of EXPORT tasks already failed
- Fail rest of the backup tasks if more than X % of STORE tasks already failed
 (1) (1) (1) (1) (1) (1)-d7a85ada23bdc760cc3728602ff2f59c.png)
Add schedule
Choose a name for the schedule and define the type:
- Full
- Incremental
 (1) (1) (1) (1) (1)-a6ca1a8f293ff68100d0b64db67668aa.png)
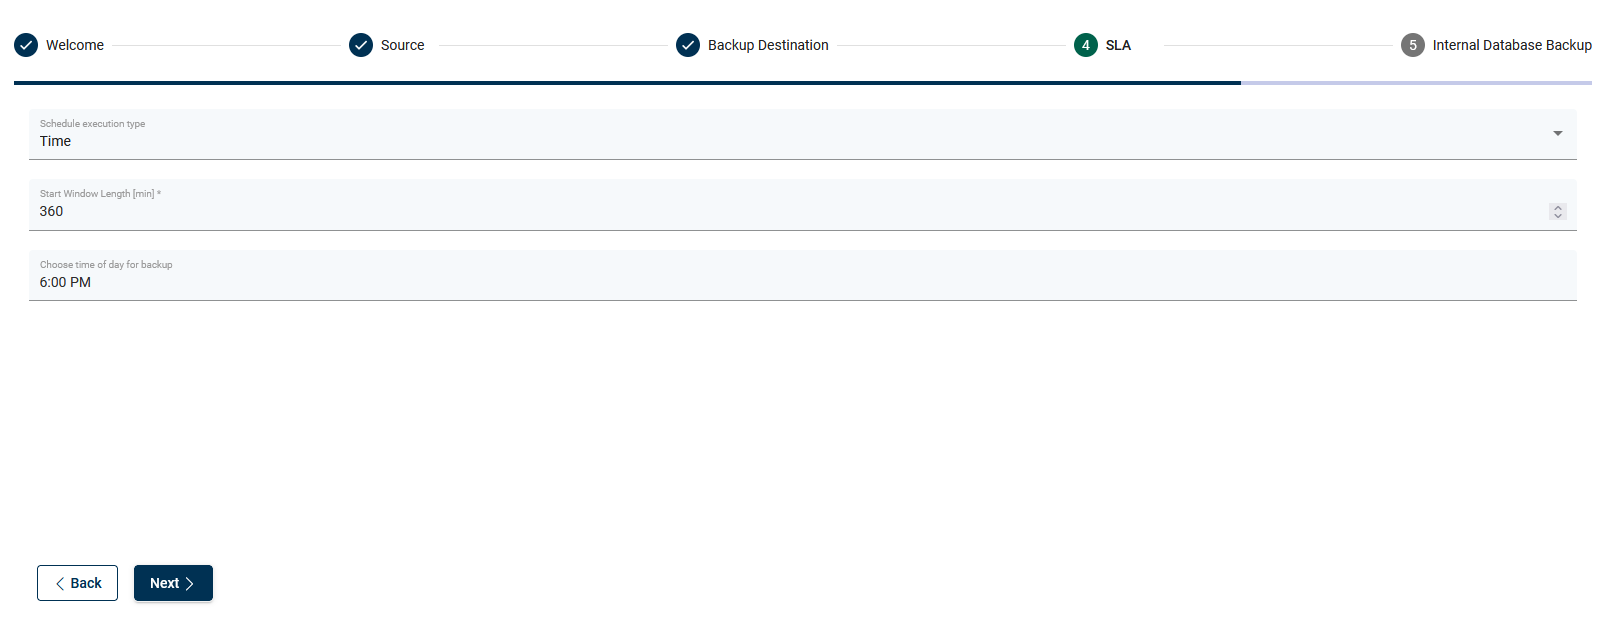
Define the execution type:
- Time
- Interval
Define the start window length
Choose the time of day for backup
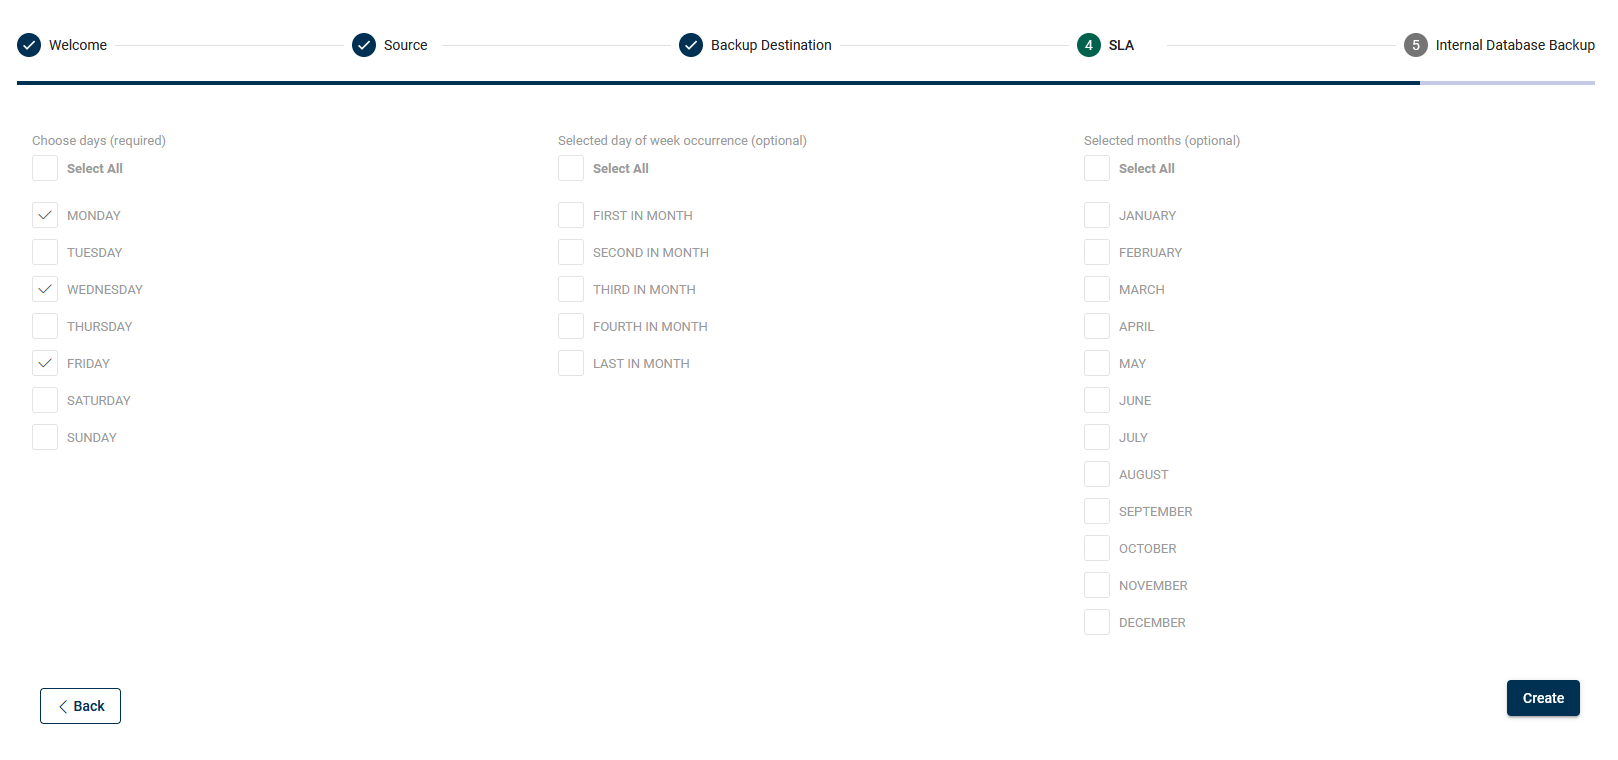
Choose the frequency of your backup:
- days (required)
- day of week occurrence (optional)
- selected months (optional)
Finish this step by going to the next section or adding another SLA.
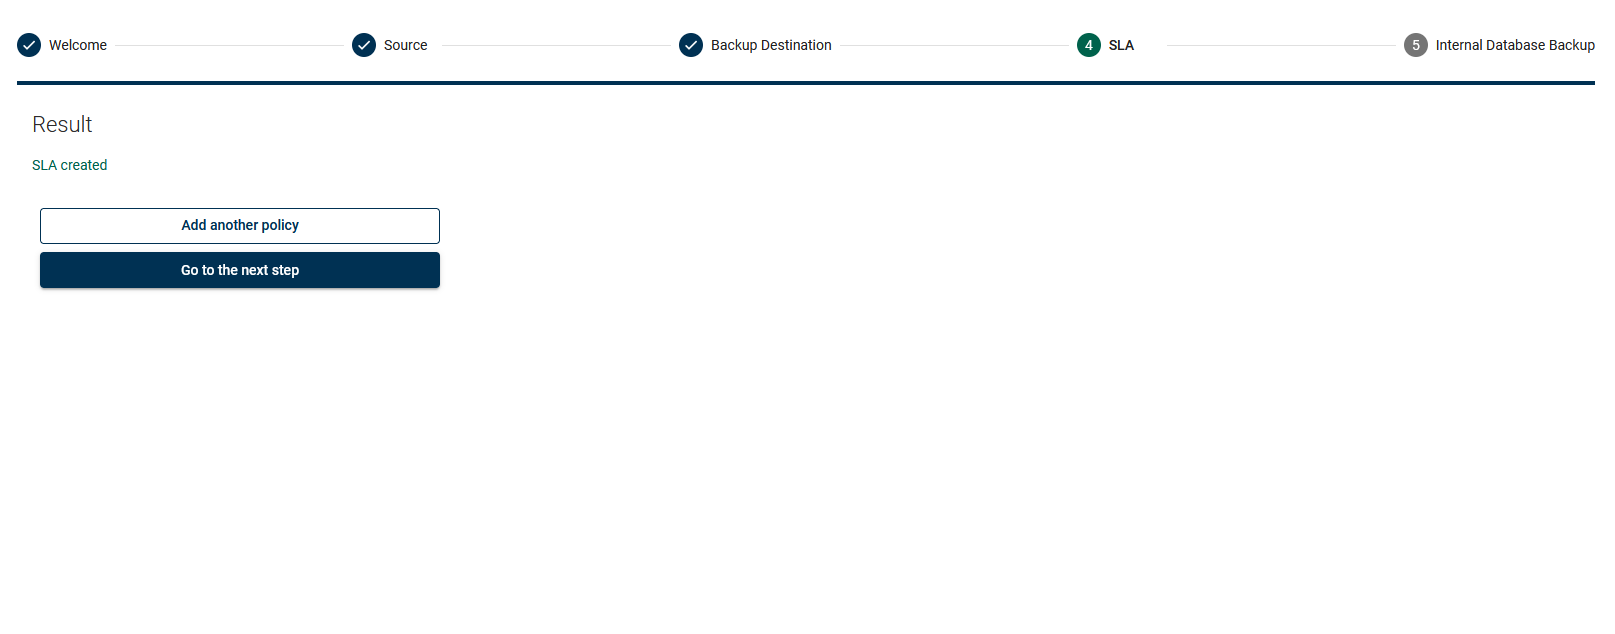
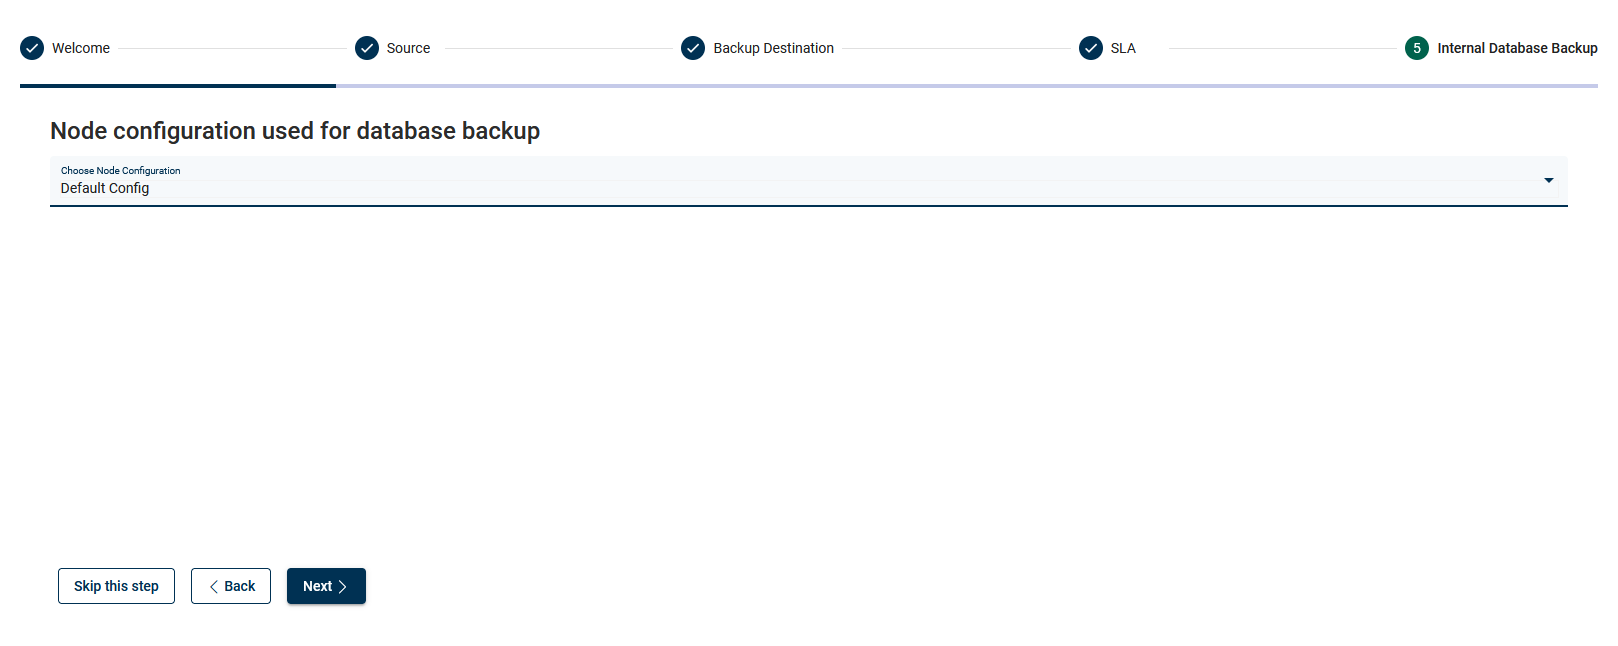
Add internal DB backup
Choose which node config should be used to perform a vPlus DB backup.
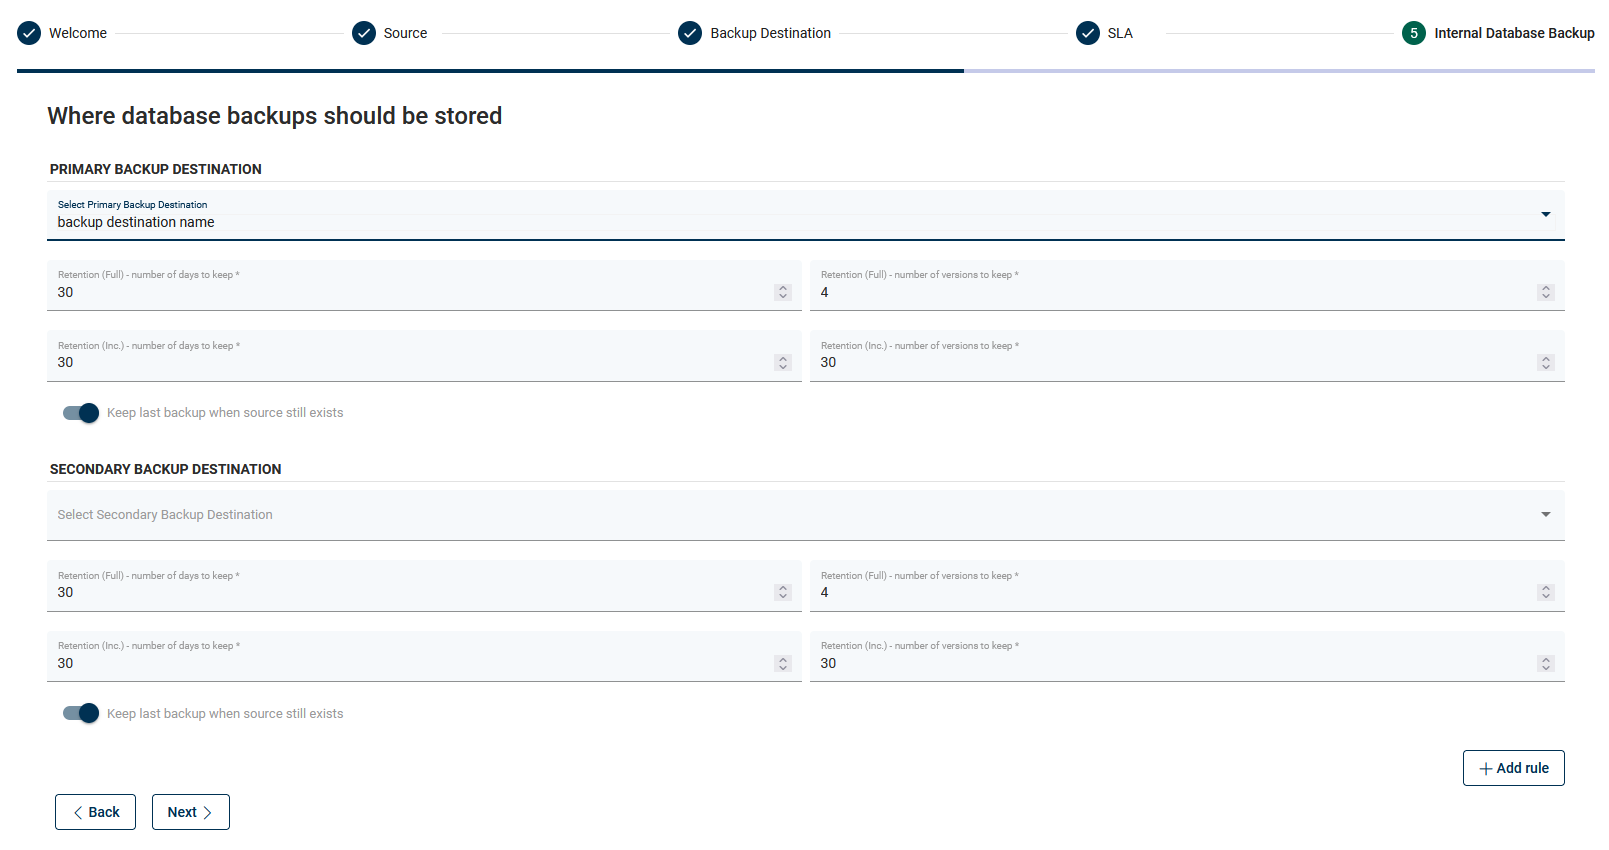
Choose the backup destination for the DB backup.
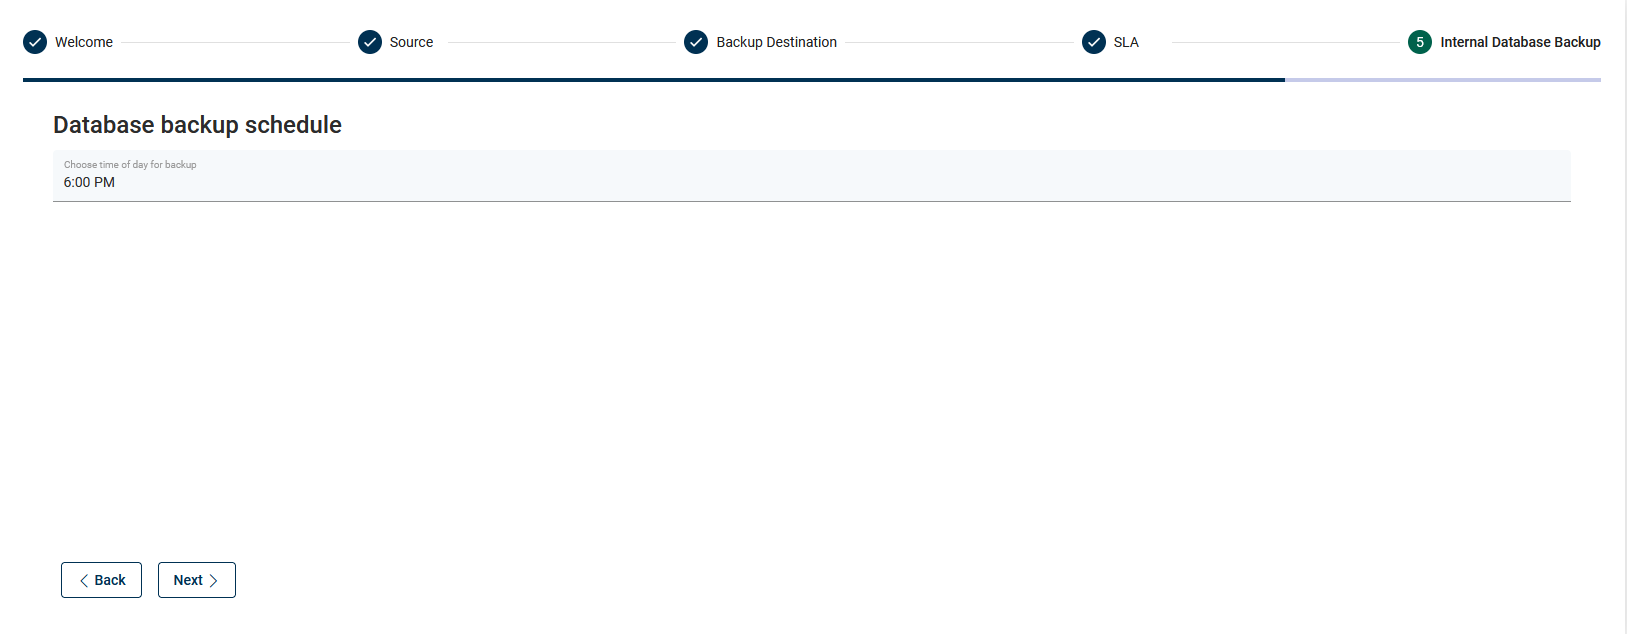
Choose when the DB backup should be run (daily basis).
Finalize the configuration and/or run the backup manually (on demand).
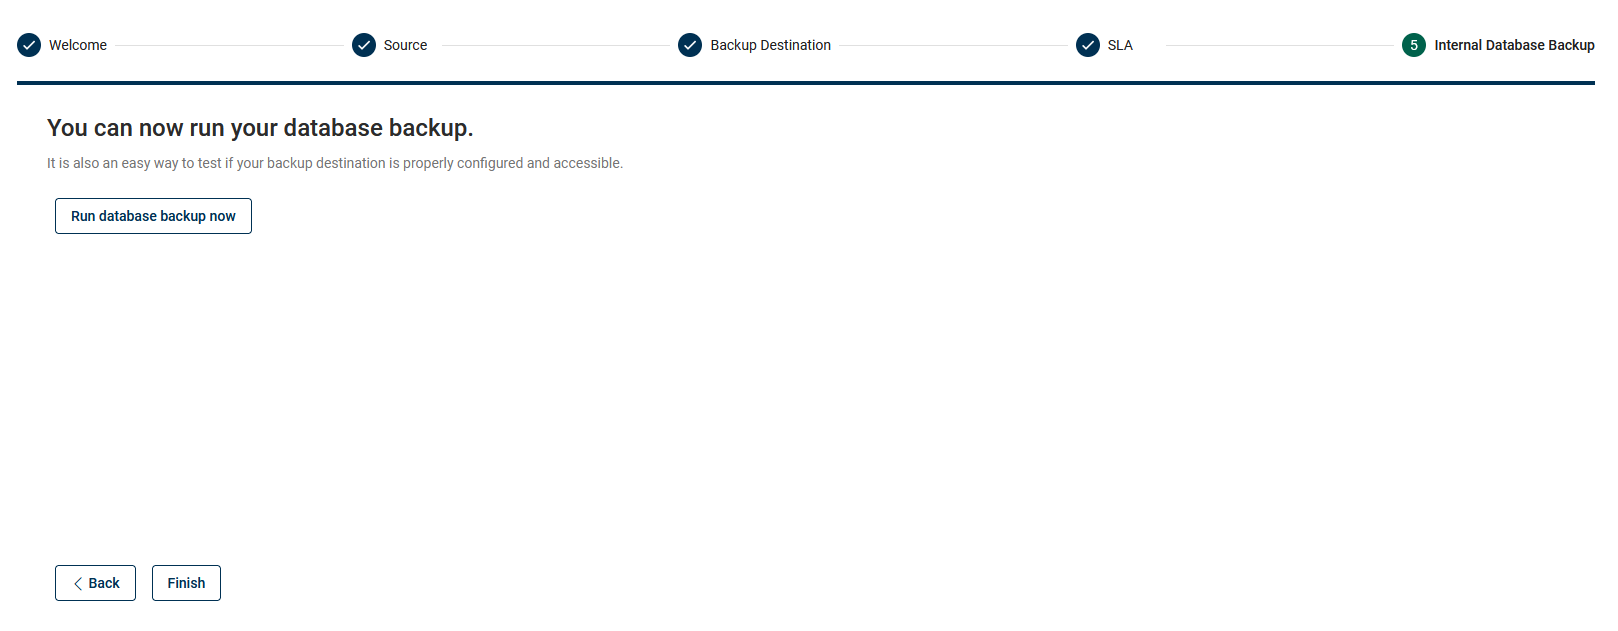
You are ready to go!